

















Dr. Balwi and his team consulting with a female patient at the Elithair clinic

The Hair Transplant Process in Turkey:
From Your First Analysis to Your Final Result

  • Thorough Initial Hair Analysis
  • Personalised Treatment at the Clinic
  • Gentle Techniques & Sedation
  • Comprehensive Aftercare

free & without obligation

4.9 out of 5 stars on Google

Experience and Certification

More than 150,000 treatments
at our specialist clinic, certified to ISO 9001:2015
by TÜV Thüringen.

ISO 9001:2015, TÜV Thüringen and health certification seals for the Elithair clinic
Process

How Your Hair Transplant in Turkey Works

The hair transplant process in Turkey follows clearly defined stages, each building on the last: from your initial hair analysis and the procedure itself to guided aftercare and your fully developed result.

Below, you'll find every step, timeframe and aftercare instruction in one place.

The Hair Transplant Process in Turkey at a Glance

PhaseTime frameWhat to expect
Hair analysis
Day 0 (online)
You send us your photos, and a doctor provides an initial assessment: whether treatment is possible, how many grafts you need and whether an extraction option such as Zero Shave FUE is right for you
Consultation & planning
1 to 3 weeks before you travel
Your treatment scope, cost and date are set, and you receive full information about the procedure
Preparation
From 14 days before your procedure
You follow the pre-procedure guidelines (for example, adjusting your medication, not cutting your hair and avoiding alcohol)
Arrival
Day 1 in Istanbul
Airport pick-up, VIP transfer straight to the clinic, the Pre-Test System as the basis for your individual treatment plan, then check-in at the hotel
Day of treatment
Day 2 in Istanbul
Any remaining Pre-Test System steps, hairline planning, Sleep-Deep sedation, extraction and implantation
Follow-up & journey home
Day 3 in Istanbul
Aftercare and a follow-up examination with a doctor at the clinic: bandage removal, headband, aftercare instructions, then your flight home
Initial healing
Days 1 to 14 at home
Following the washing protocol carefully, removing the scabs and avoiding strenuous activity
Resting phase (possible shock loss)
Up to month 3
In the first weeks after your procedure, the transplanted hairs may shed temporarily (shock loss). Shock loss can happen, but it doesn't have to: not every patient experiences it.
Growth phase
Months 4 to 12
Steady thickening, with approximately 10% new growth per month
Final result
Months 10 to 18
Final result at the front hairline (10 to 12 months) and at the crown (15 to 18 months)
Step 1

Step 1: A Thorough Hair Analysis

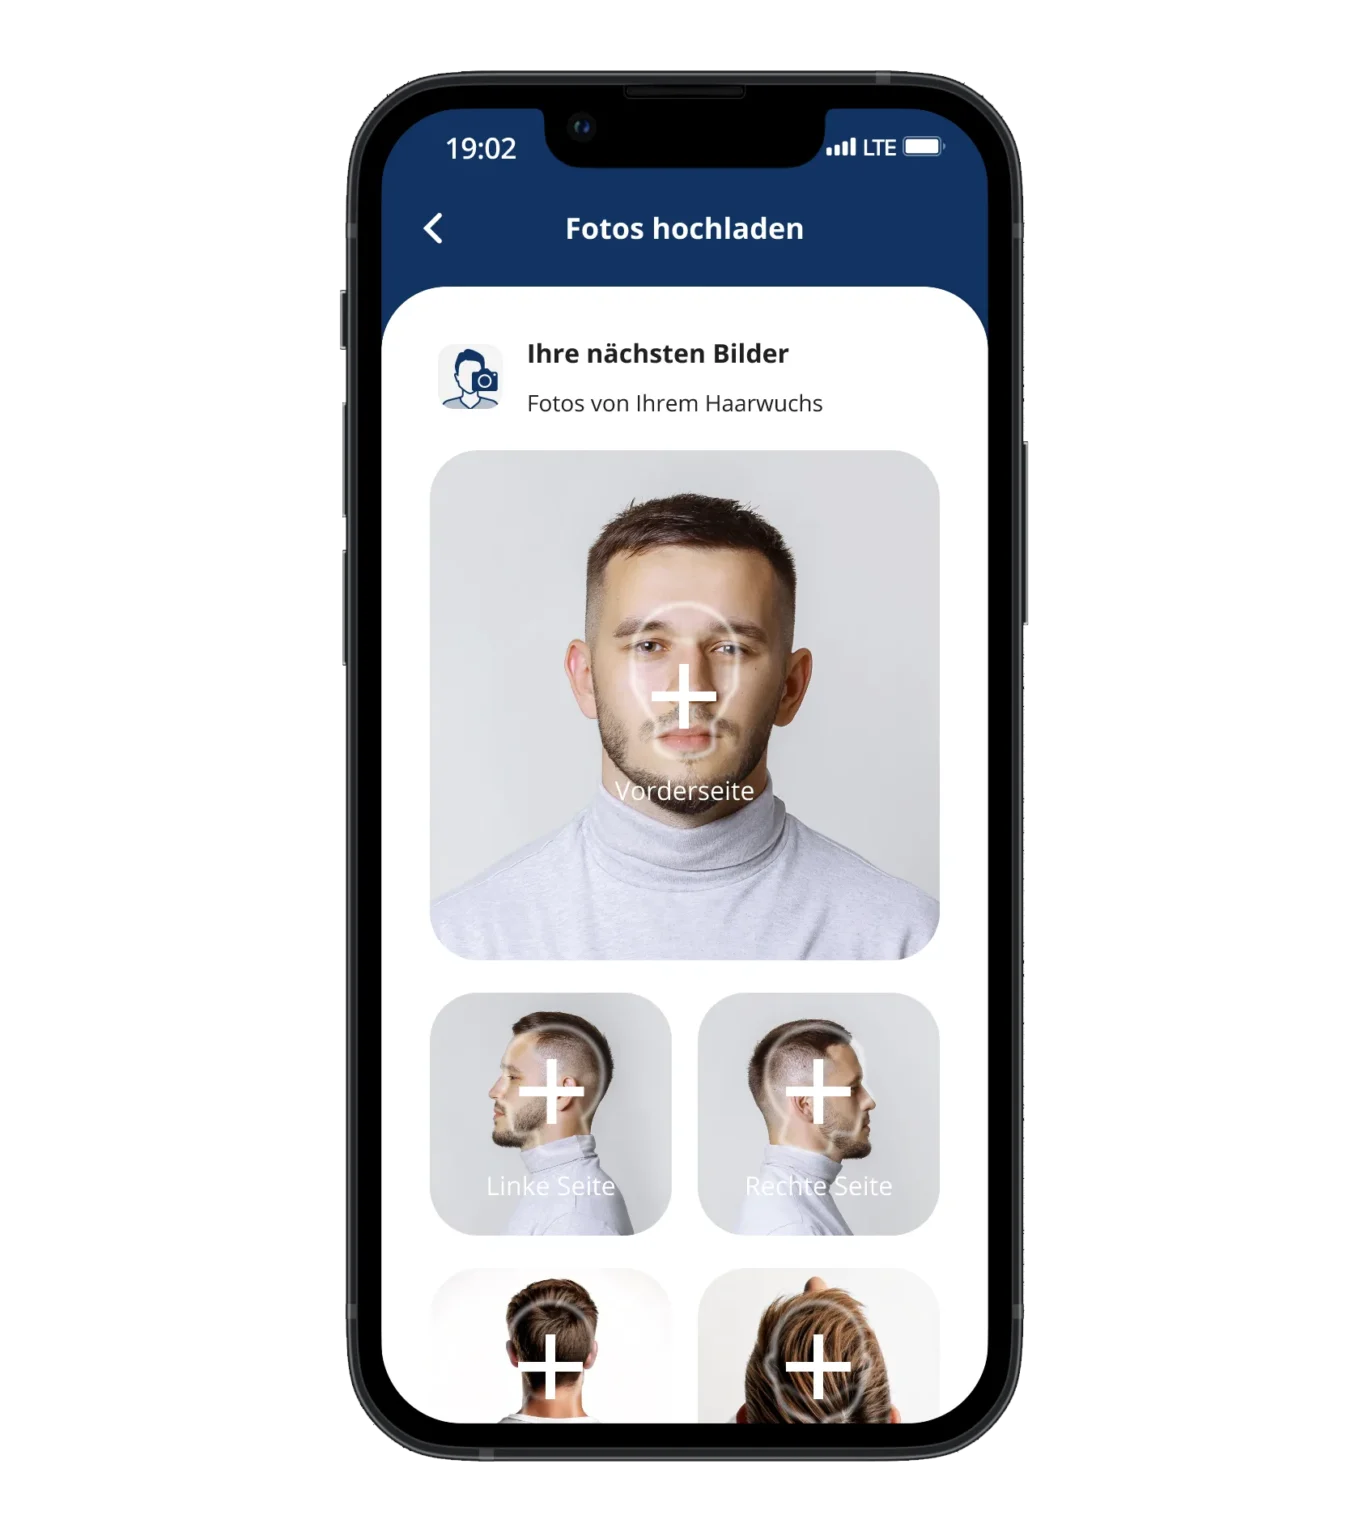
Smartphone showing the photo upload screen for a hair analysis

Your journey to new hair begins with a free hair analysis. Simply upload recent photos showing your front hairline, the top of your head and the donor area at the back. Then answer a few short questions about your health and the progression of your hair loss.

Our team of doctors personally reviews your photos, focusing on three key factors:

  1. Stable hair loss: If hair loss in the surrounding areas is still progressing rapidly, new areas of thinning would appear after the transplant. Careful long-term planning avoids this risk.
  2. Donor area capacity: The area at the back of your head provides a limited supply, as extracted follicles do not grow back (Chouhan et al. 2019). Its density determines the extent of treatment that is realistically possible.
  3. Feasibility of your goals: The aim is a natural appearance that suits your anatomy.

More than 40% of all enquiries do not lead to treatment after this assessment. This reflects our medical duty of care: we only recommend a procedure when lasting density can be achieved.

Step 2: Consultation and Personal Planning

Elithair staff member in a polo shirt talking on her smartphone at her desk

Following your free, no-obligation initial assessment, your personal hair transplant adviser will talk you through your plan in detail. Before you travel, we make sure every important detail is agreed, from the expected number of grafts and the cost to your exact travel dates.

Getting the full picture up front lets you plan with confidence. You'll know exactly what to expect on the day of your procedure and throughout your aftercare, as well as what result is realistic for you.

Key Points of Your Consultation

Key Points of Your Consultation
TopicDetails & why it matters
Number of grafts & target areas Determines the density you need, your price tier and your final result.
Cost All-inclusive price. You pay for your own flight; optional extraction methods are available at an additional cost.
Special procedures (optional) Optional extraction methods include Zero Shave FUE, with a surcharge of £450, and Manual FUE, with a surcharge confirmed during your consultation.
Schedule & hotel stay Schedule for your 3 days in Istanbul, including 3 nights in a 4-star hotel and local transfers.
Medical history & medication A review of pre-existing conditions and medication so your procedure can be carried out safely.
Expectations We compare your goals with what's realistically achievable for your hair.
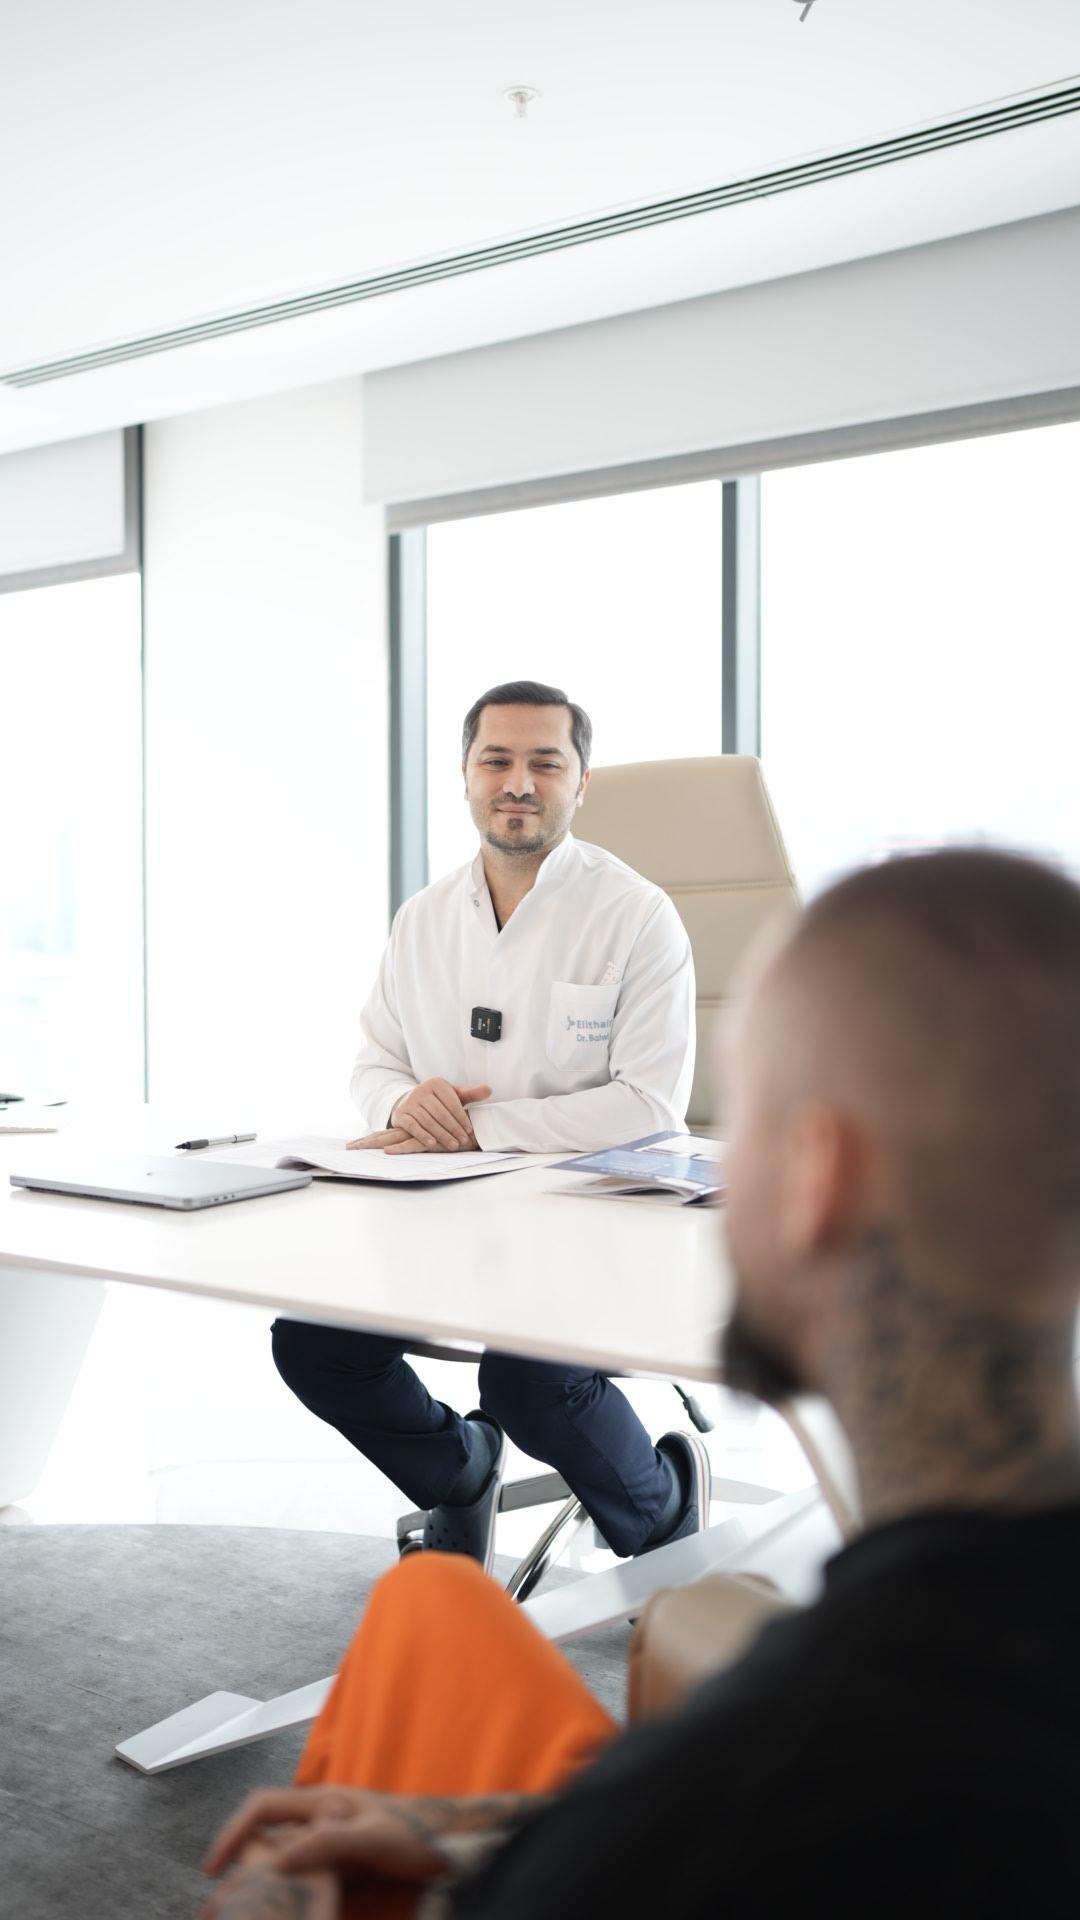
Elithair doctor consulting with a patient at a white desk in Istanbul
Step 3

Step 3: Preparing at Home

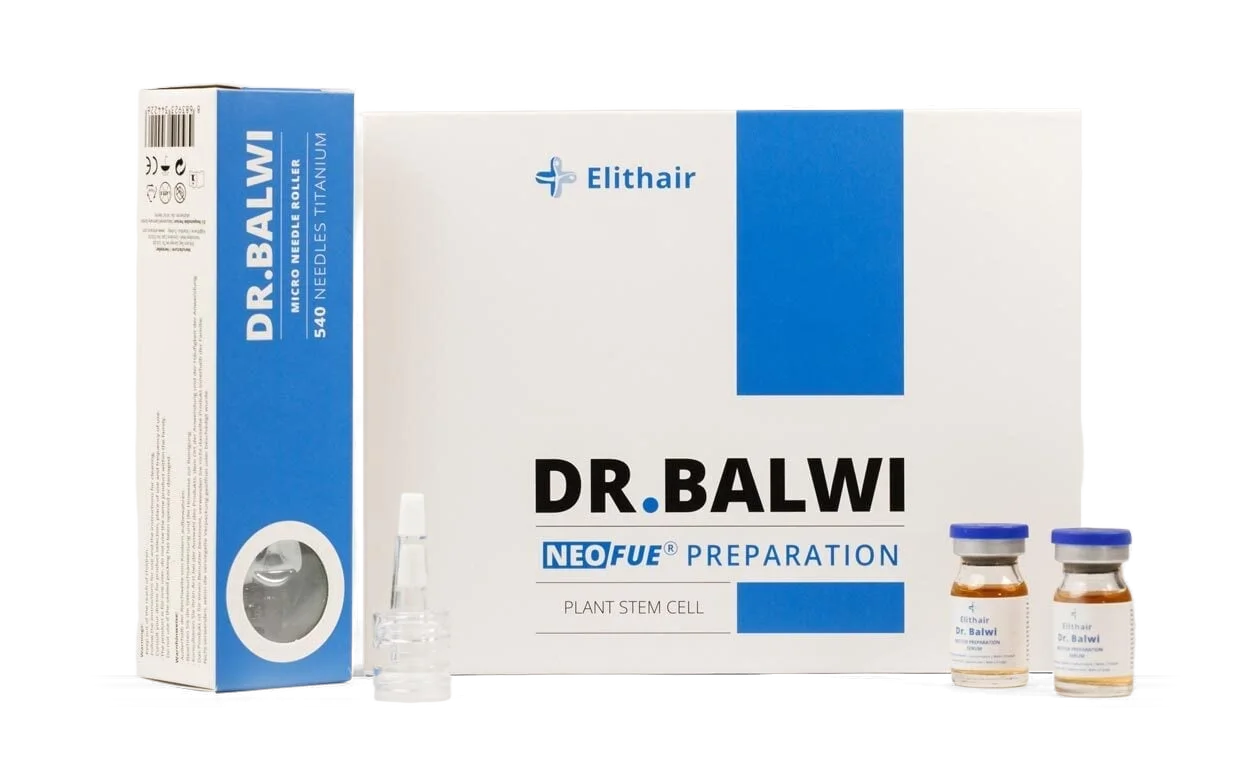
NEO FUE preparation set with a dermaroller and serum ampoules

Careful preparation helps ensure a relaxed hair transplant process in Turkey. Two weeks before your procedure, you'll begin with a few simple steps to prepare your scalp and grafts.

Your Timeline Leading Up to Your Procedure

Time frameWhat to doWhy
14 days before
Pause minoxidil
Reduces fluctuations in blood flow during the procedure
14 days before
Stop cutting your hair and beard
Your doctors need your current hair length for precise planning on site
7 days before
Stop using shampoos, serums and sprays for hair loss
Protects your scalp and provides an accurate picture of its condition
3 days before
Avoid alcohol
Helps maintain normal blood clotting
1 day before
Avoid nicotine, coffee and tea
Protects your blood vessels and supports healthy circulation
6 hours before
Fast (no water in the last 2 hours)
An important requirement for gentle Sleep-Deep sedation
Throughout
Take finasteride as usual
You don't need to stop taking it

A Practical Packing List for Your Hand Luggage

  • Button-up or zip-up shirts and jackets: These prevent anything from touching the treated area when you get dressed or undressed.
  • A large water bottle: Drinking plenty of fluids (at least 3 litres a day) helps support your recovery.
  • Your regular medication: Please bring it in its original packaging.
  • Leave your own cap or hat at home: For the first two weeks, use only the specially fitted hat provided by the clinic to protect the treated areas.
White reception hall of the Elithair clinic with organically shaped columns and a glass façade
Patients with suitcases arriving in the lobby of the Elithair clinic
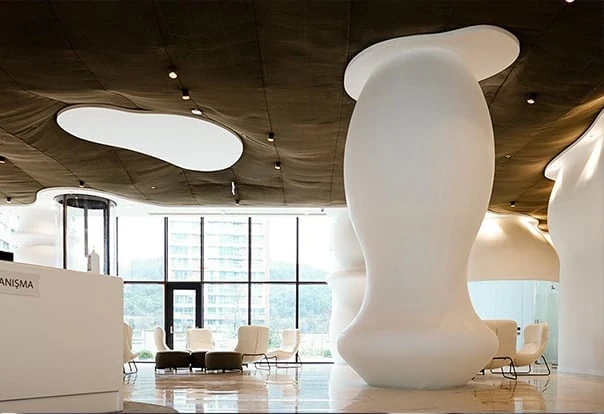
Clinic lobby with a large white sculpture and seating area
Clinic reception hall with an illuminated art installation
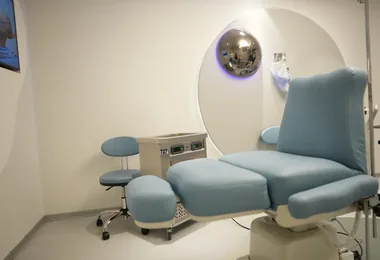
Bright treatment room with a light blue treatment chair
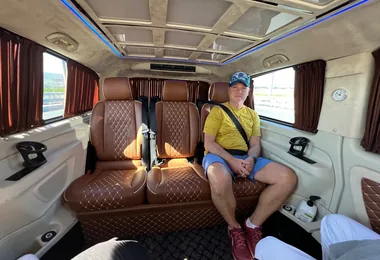
Patient in a transfer vehicle with comfortable leather seats
Evening view of the Istanbul skyline from the hotel
Elit Clinic waiting area with sofas and plants
Hotel Elitoria in Istanbul at dusk
Hotel Elitoria sign above Istanbul at sunset
Hotel room with a curved ceiling and a view of Istanbul
Bright hotel room with a double bed and panoramic window
Hotel room with a white bed, an orchid and a flat-screen TV
Hotel Elitoria with its illuminated entrance in the evening
Waiting lounge with a light installation on the ceiling
Aerial view of the Elit Clinic building in Istanbul
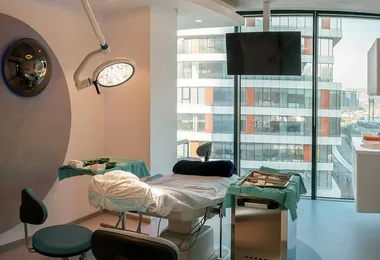
Prepared treatment room with large windows
Exterior of the clinic building in Istanbul
Hotel room with a rounded wall arch and city view
Spacious hotel room with ring-shaped ceiling lights
Patient in a transfer vehicle with comfortable leather seats
Evening view of the Istanbul skyline from the hotel
Elit Clinic waiting area with sofas and plants
Hotel Elitoria in Istanbul at dusk
Hotel Elitoria sign above Istanbul at sunset
Aerial view of the Elit Clinic building in Istanbul
Prepared treatment room with large windows
Exterior of the clinic building in Istanbul
Hotel Elitoria with its illuminated entrance in the evening
Waiting lounge with a light installation on the ceiling
Day 1

Step 4: Arriving in Istanbul (Day 1)

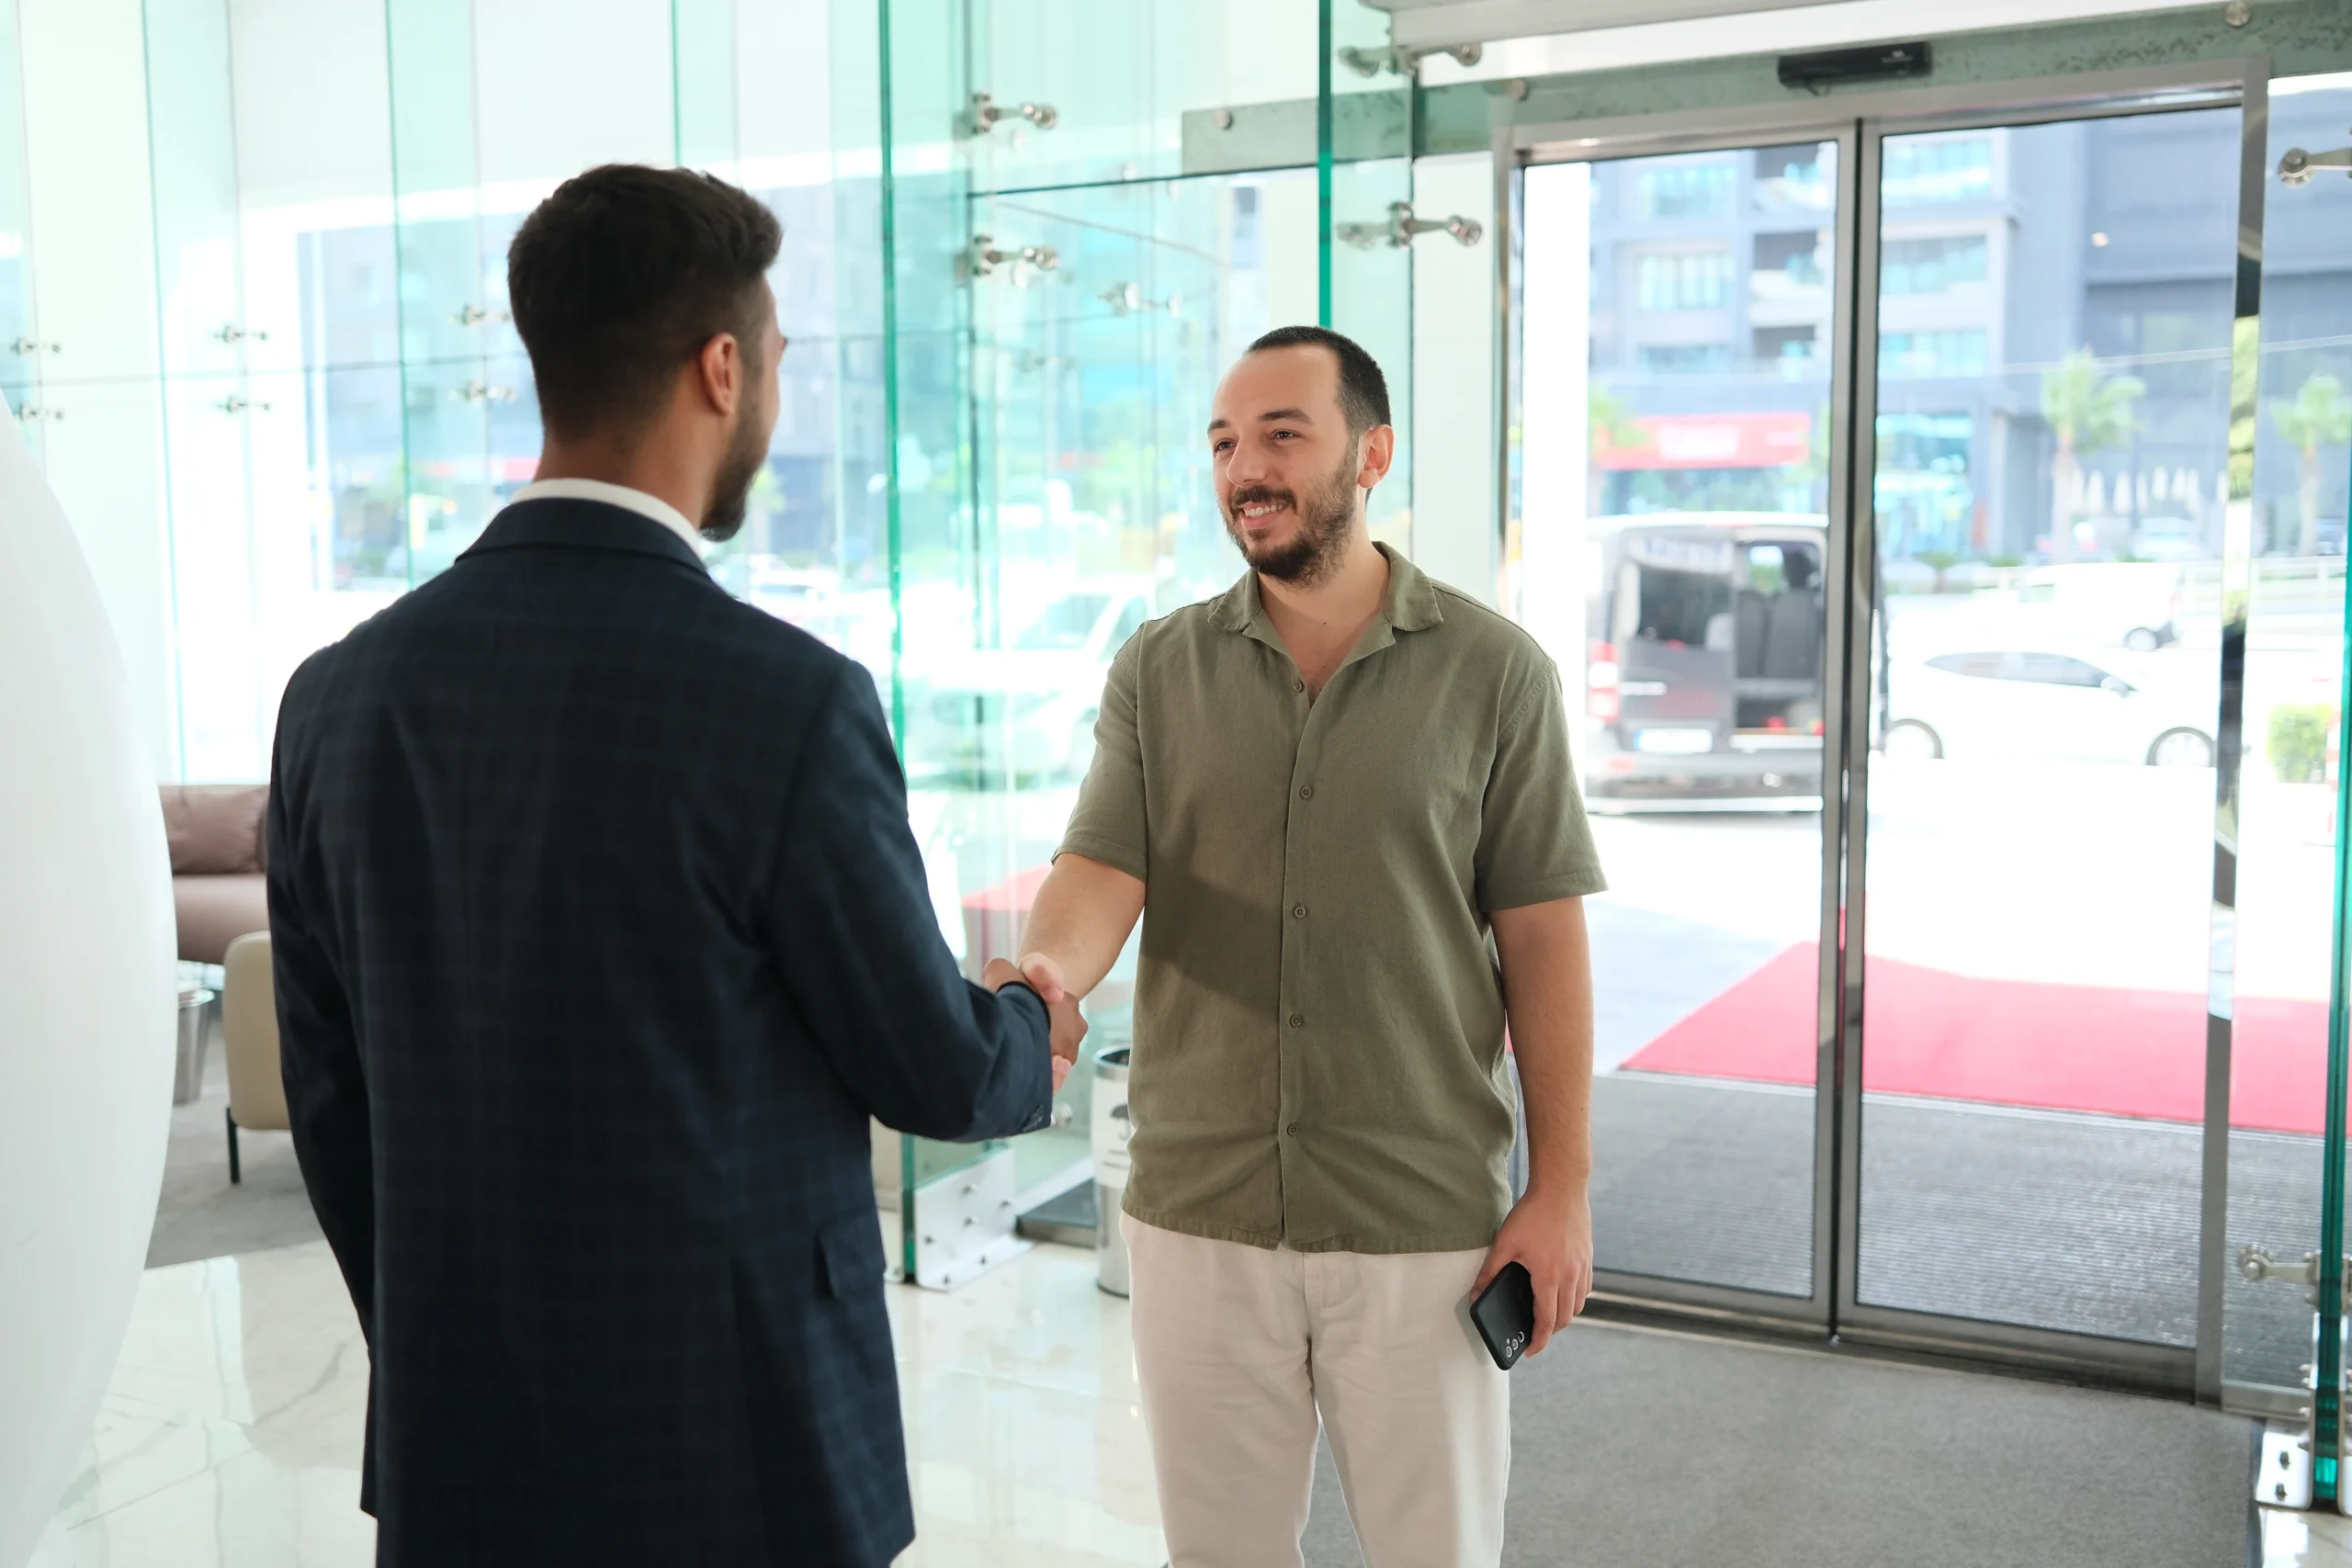
Elithair staff member greeting a smiling patient with a handshake at the clinic entrance
  1. When you land in Istanbul, our VIP shuttle meets you and takes you straight to the clinic.

  2. There, you'll undergo the 6 specialised analyses that make up our Pre-Test System. Our doctors use the results to create your individual treatment plan.

  3. If you arrive late in the evening, we still take you to the clinic first for your blood tests. The remaining Pre-Test System steps then follow on day 2. Afterwards, your transfer takes you to your 4-star hotel.

At a glance

  • Included: 3 nights in a 4-star hotel, VIP transfers and the Pre-Test System, whose results form the basis of your individual treatment plan
  • Not included: Your flight to Istanbul (approximately €100 to €250).
Day 2

Step 5: Procedure Day (Day 2)

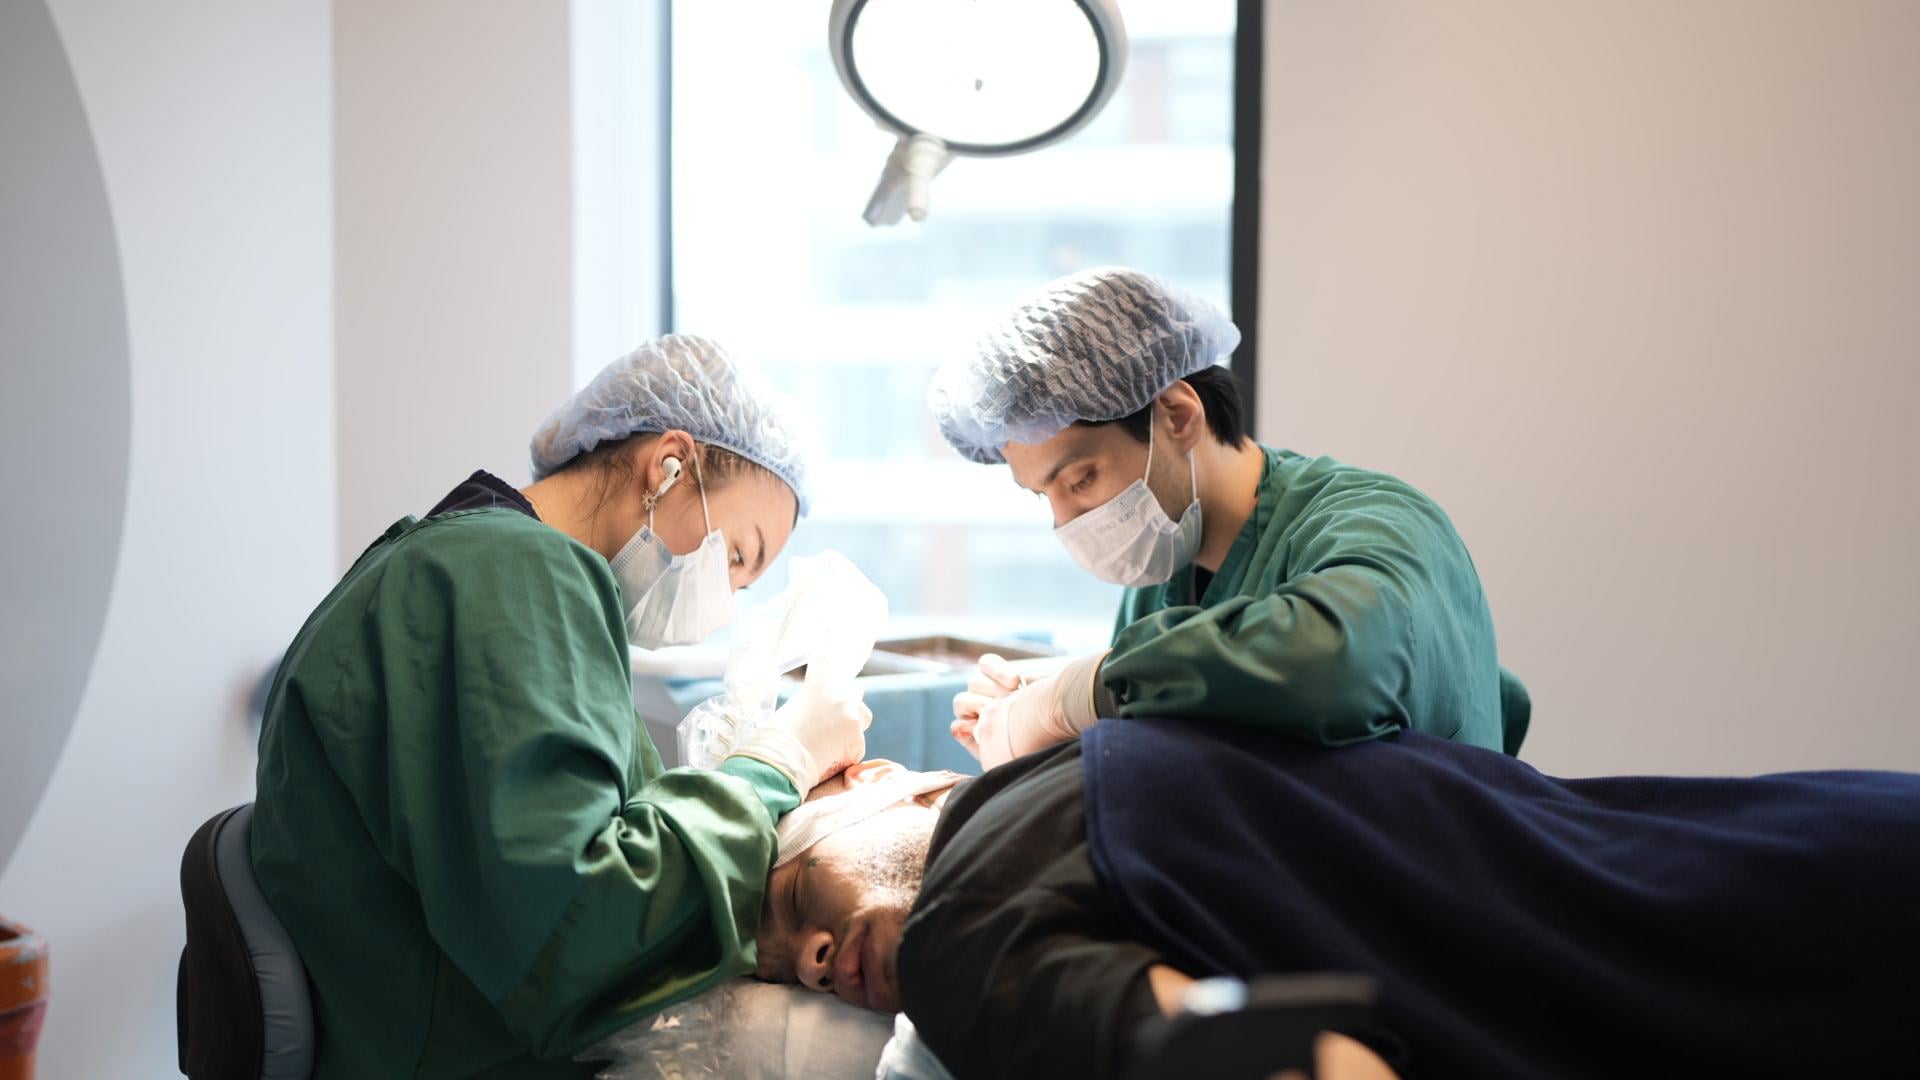
Two medical specialists harvesting hair follicles in the operating theatre

Day two centres on your hair transplant and builds on the Pre-Test System you completed on day 1. If you arrived late the previous evening, you'll complete the remaining steps before your procedure. Using the results of the 6 analyses, our doctors create your individual treatment plan, which determines factors including the implantation depth and the distribution of your grafts.

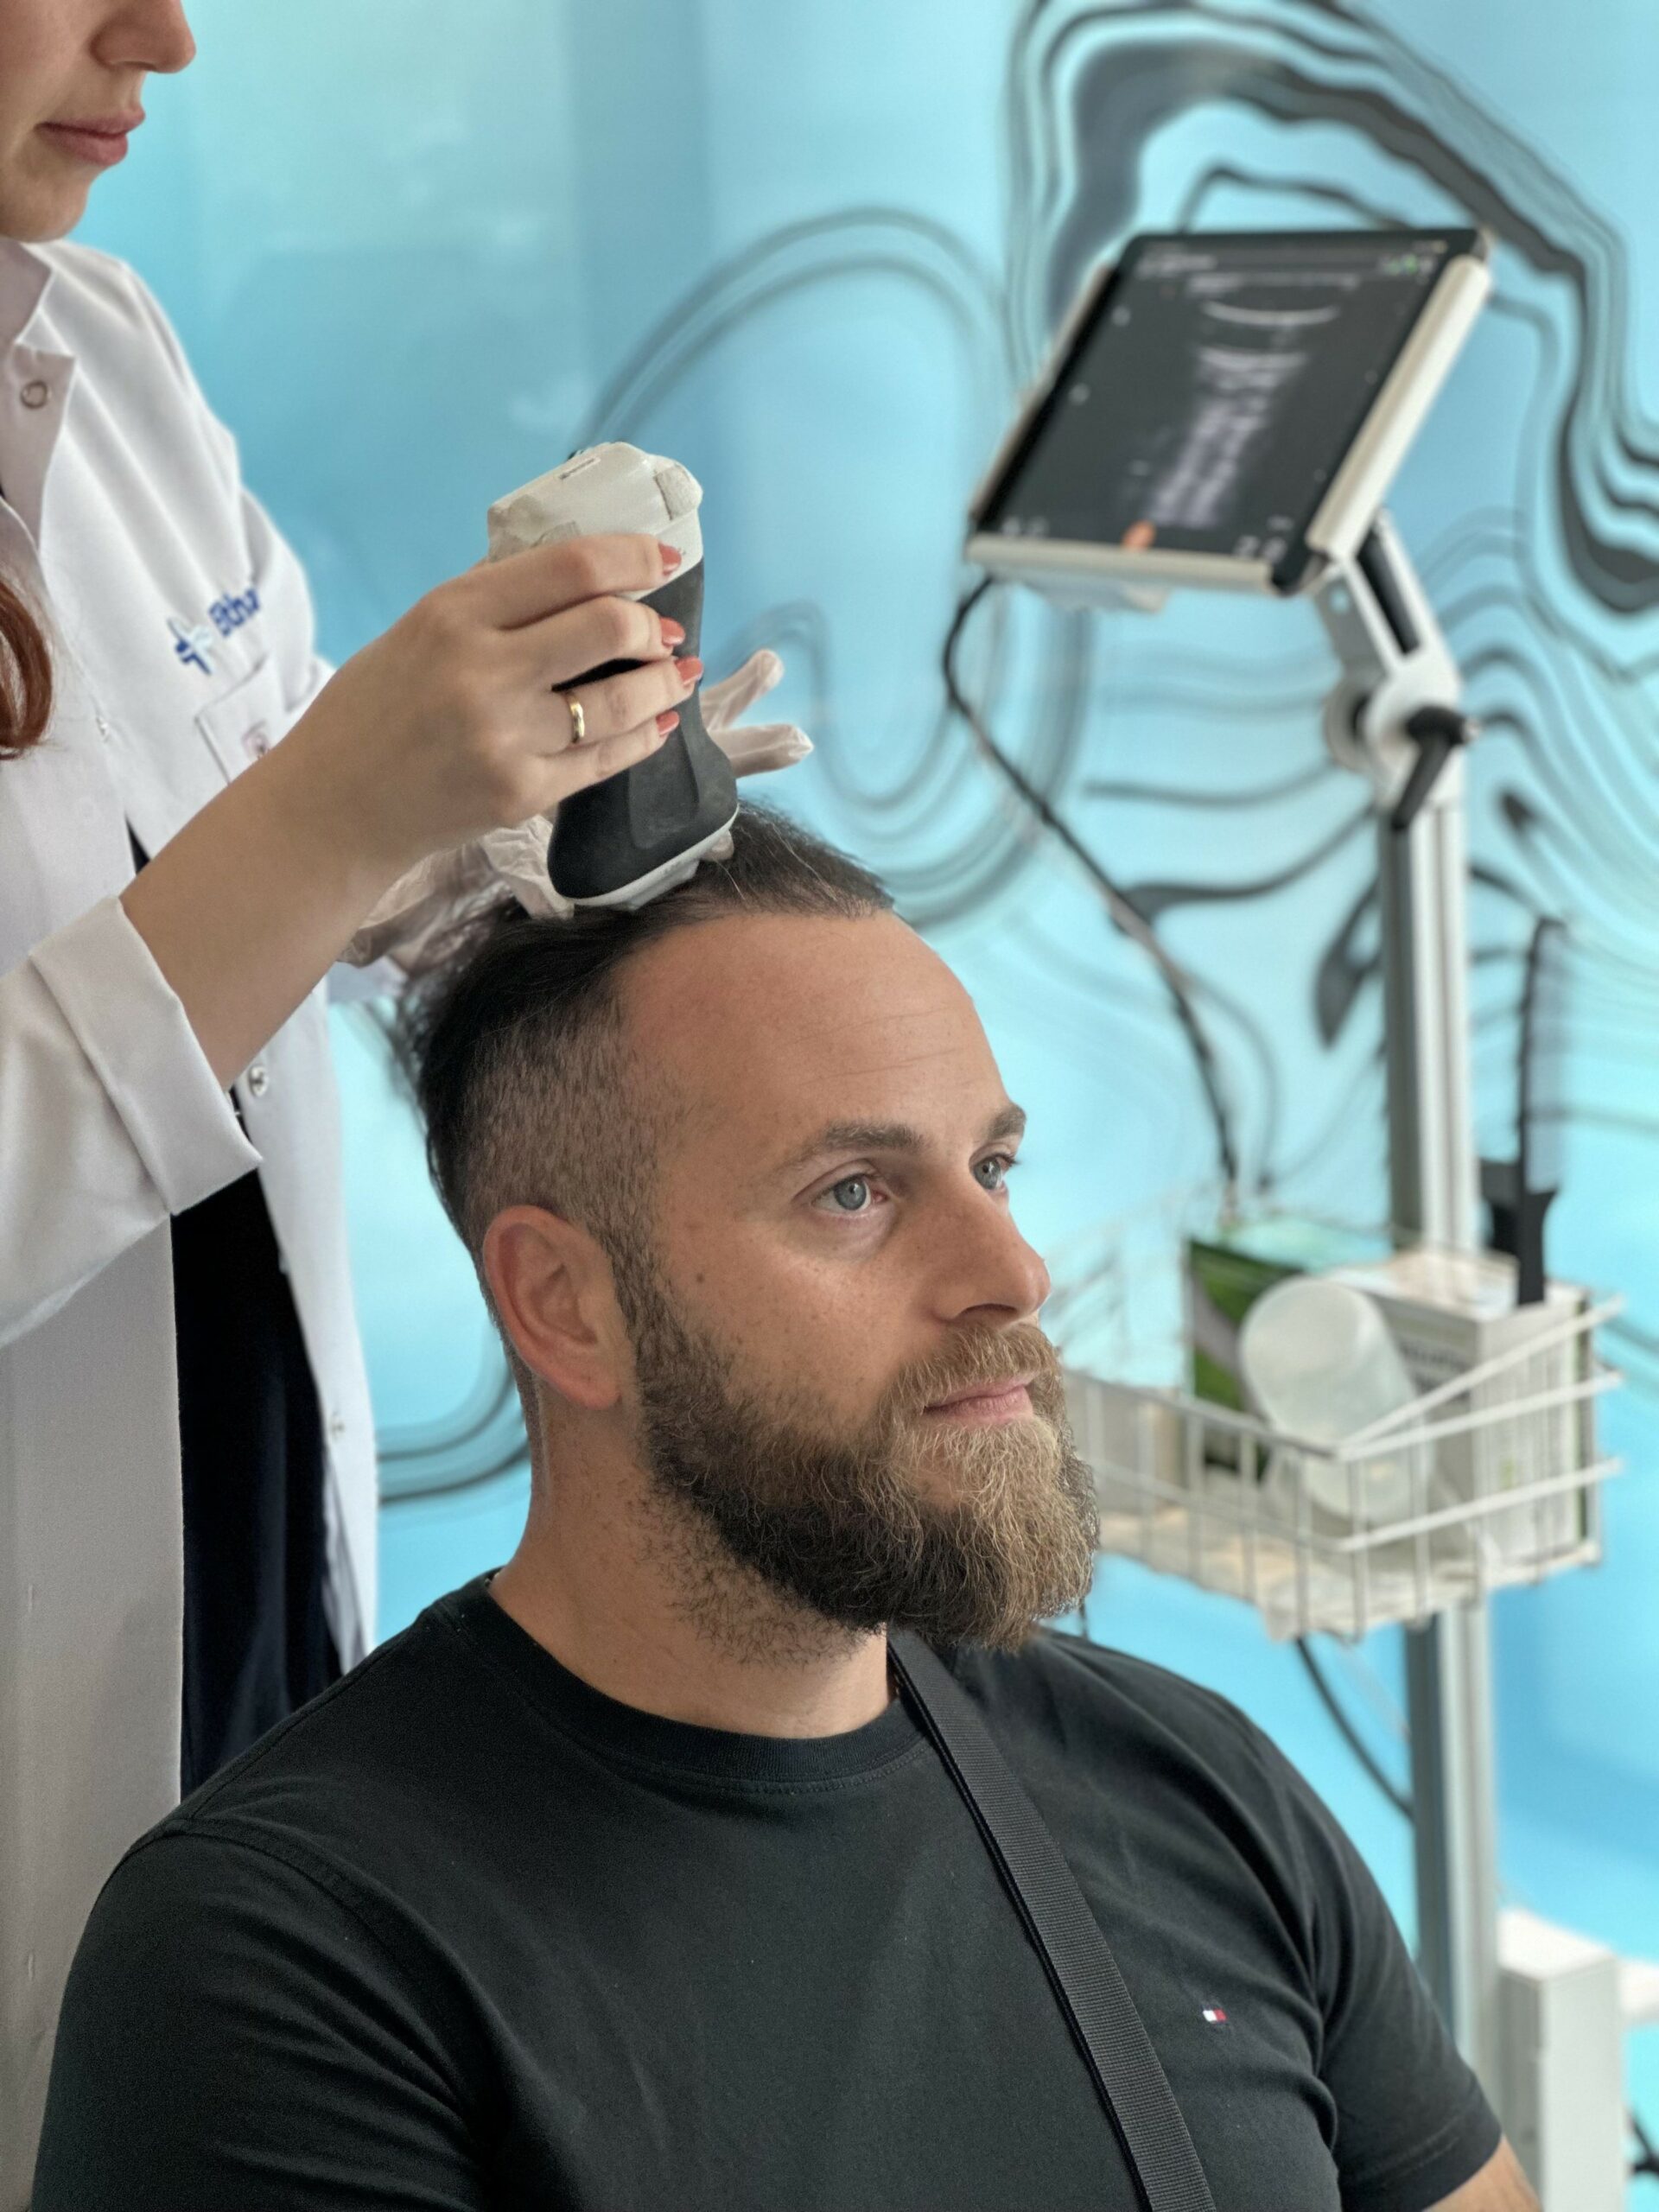
Pre-Test System: medical specialist in an Elithair coat placing a measuring device on top of a man's head, with the image displayed on a monitor

The 6 Analyses of the Pre-Test System

Through six separate tests, our Pre-Test System provides a comprehensive overview of your health and forms the basis of your individual treatment plan.

ExaminationMedical benefit
Electrocardiogram (ECG)
Safety for sedation
General health blood test
Assesses your overall health before the procedure
Hair loss blood test
Points to possible causes of your hair loss
Hair analysis with the TrichoLAB scanner
Measures density and hair thickness
Scalp ultrasound
Measures skin thickness; together with blood flow, this determines the implantation depth
Doppler ultrasound
Measures blood circulation; together with skin thickness, this determines the implantation depth

Precise placement for optimal results: The implantation depth determined from your skin thickness and blood flow, together with the NEO FUE protocol, contributes to a graft survival rate of approximately 98%. Grafts placed too superficially have a survival rate of approximately 60%. Treatment begins only after a doctor has thoroughly reviewed all your data.

Hairline

Designing Your New Hairline

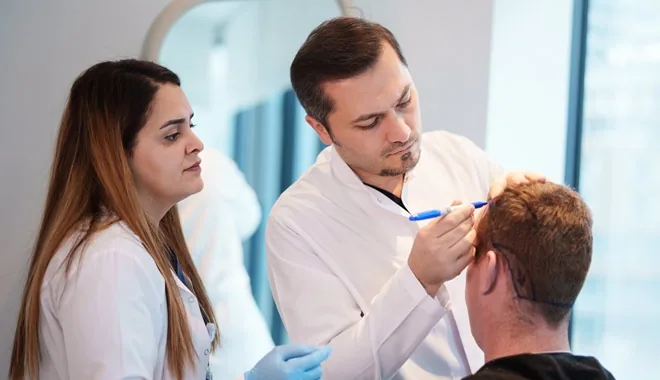
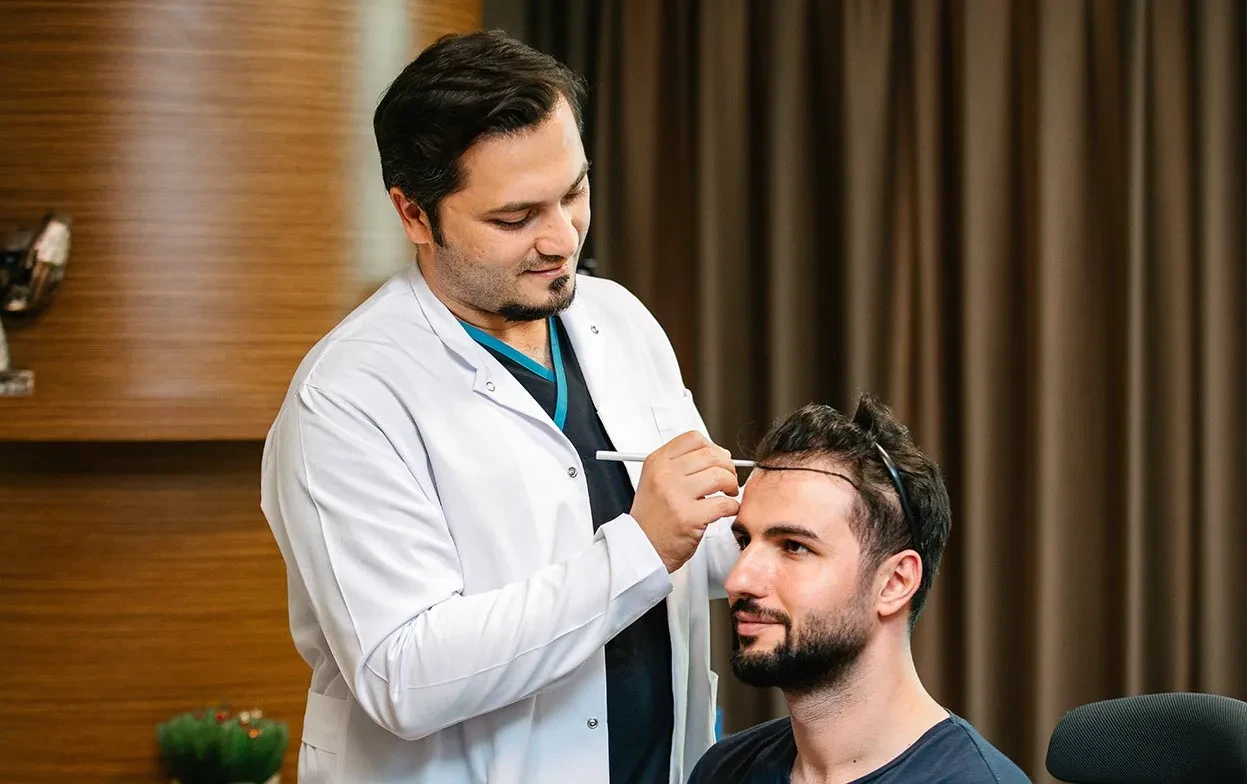
Doctor drawing a new hairline on a seated patient's forehead with a pen

Before the procedure, a doctor precisely marks out your new hairline. Its exact shape and position, the implantation depth and the distribution of the grafts are planned. Finer single-hair grafts create a soft, completely natural transition at the forehead, while multi-hair grafts further back provide the necessary fullness (Shapiro et al. 2013).

This is your opportunity to discuss your preferences openly. In line with our 5-Doctor Standard, the doctor gives you clear advice on which hairline suits your facial structure and will continue to look balanced and timeless for years to come.

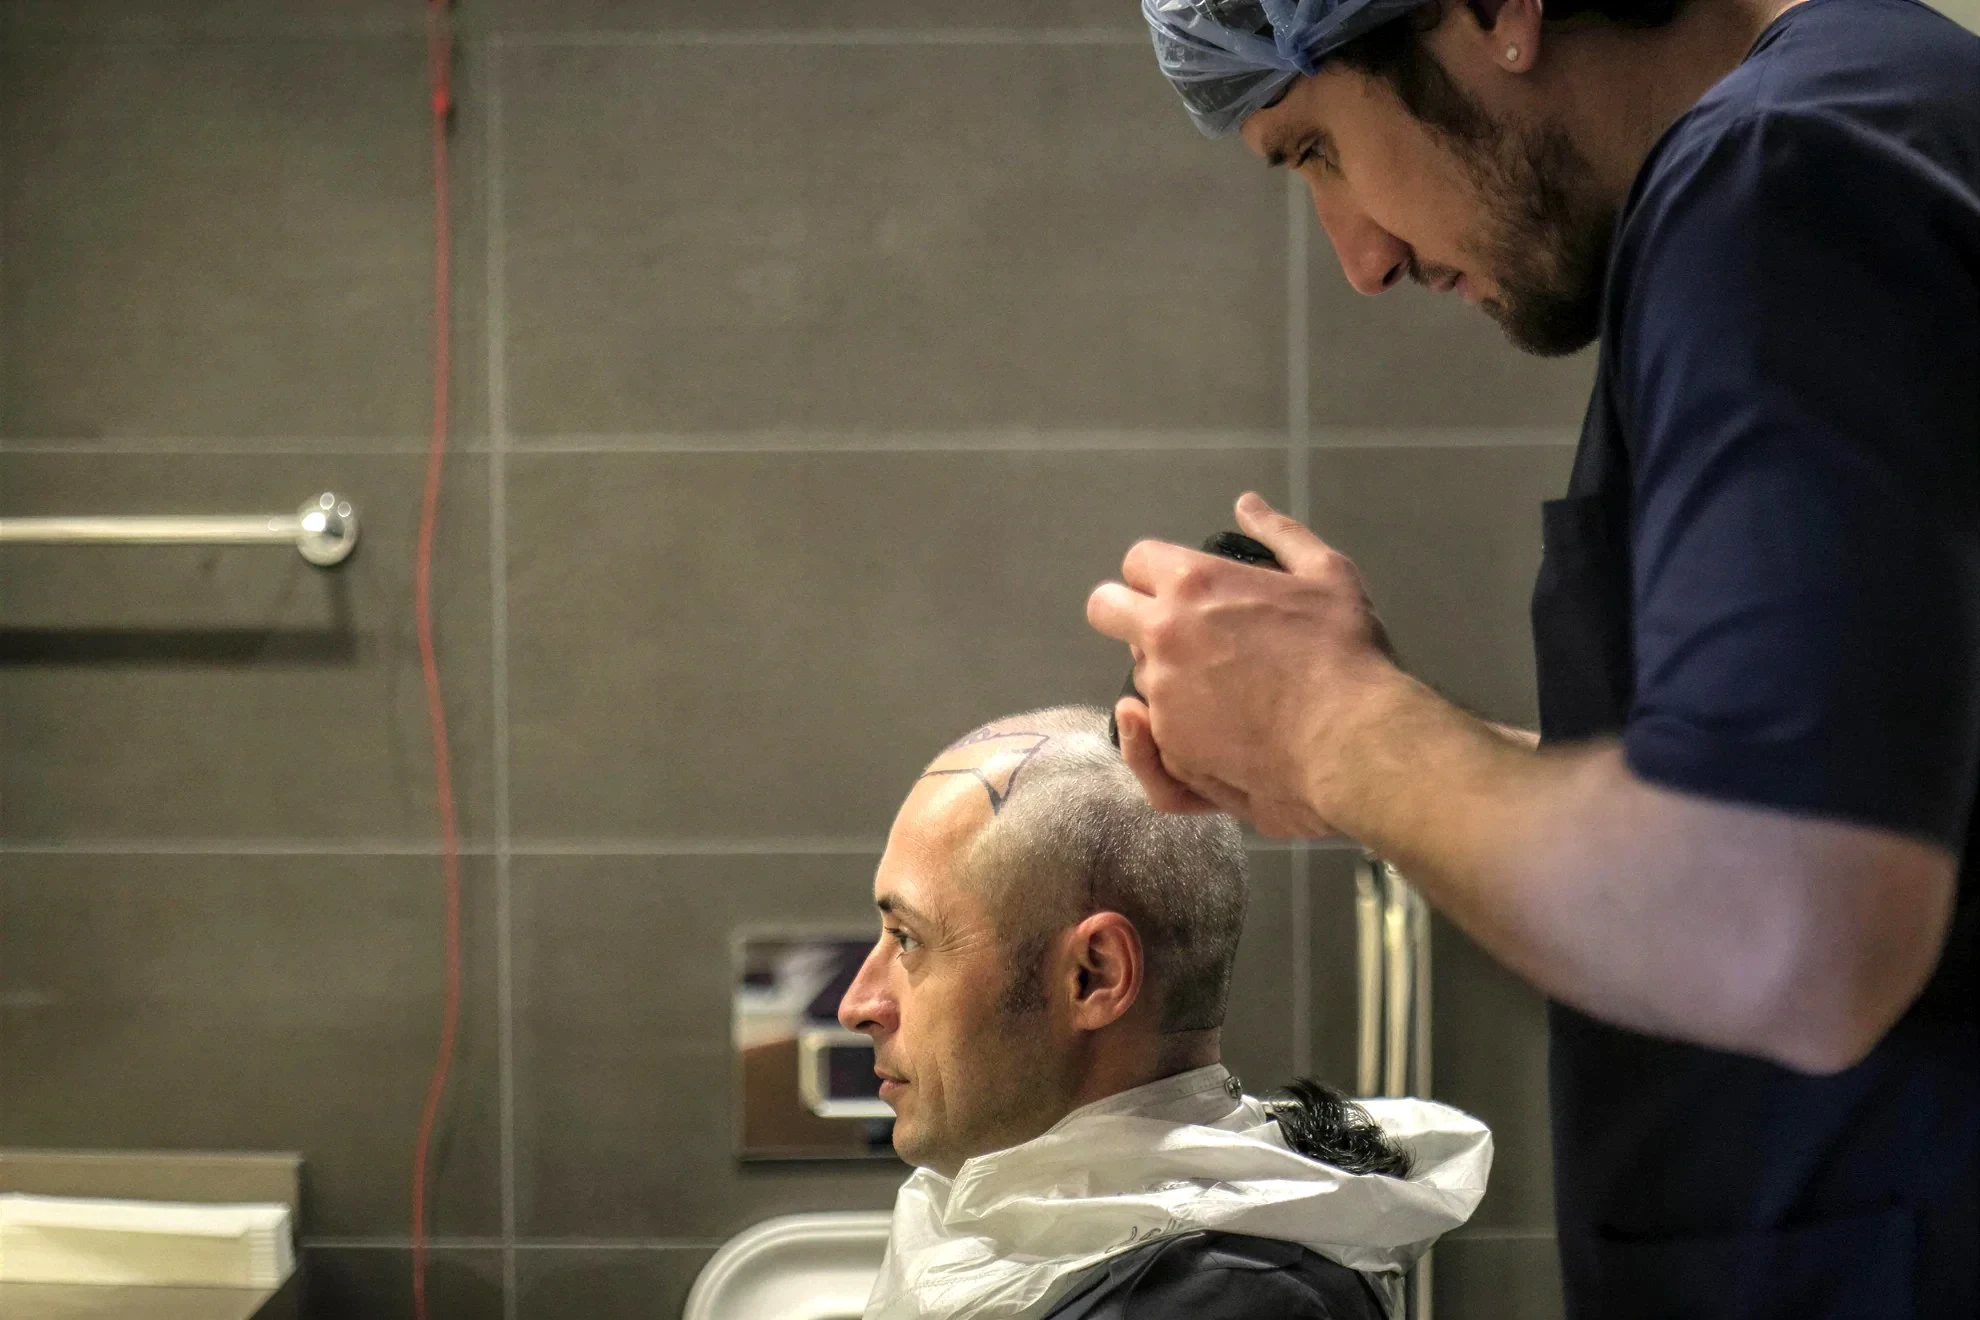
Doctor shaving the head of a seated patient with a marked hairline before the procedure

Shaving and No-Shave Alternatives

Before the procedure, the donor and recipient areas are shaved at the clinic. That's why it's important not to cut your hair yourself in the two weeks before your procedure.

If you would like to avoid shaving entirely, the Zero Shave FUE extraction method is available as an option with a surcharge of £450. Both the donor and recipient areas remain completely unshaved. It is available for procedures involving fewer than 3,500 grafts; medium-length or long hair is not a requirement. This option is available to all patients, regardless of gender.
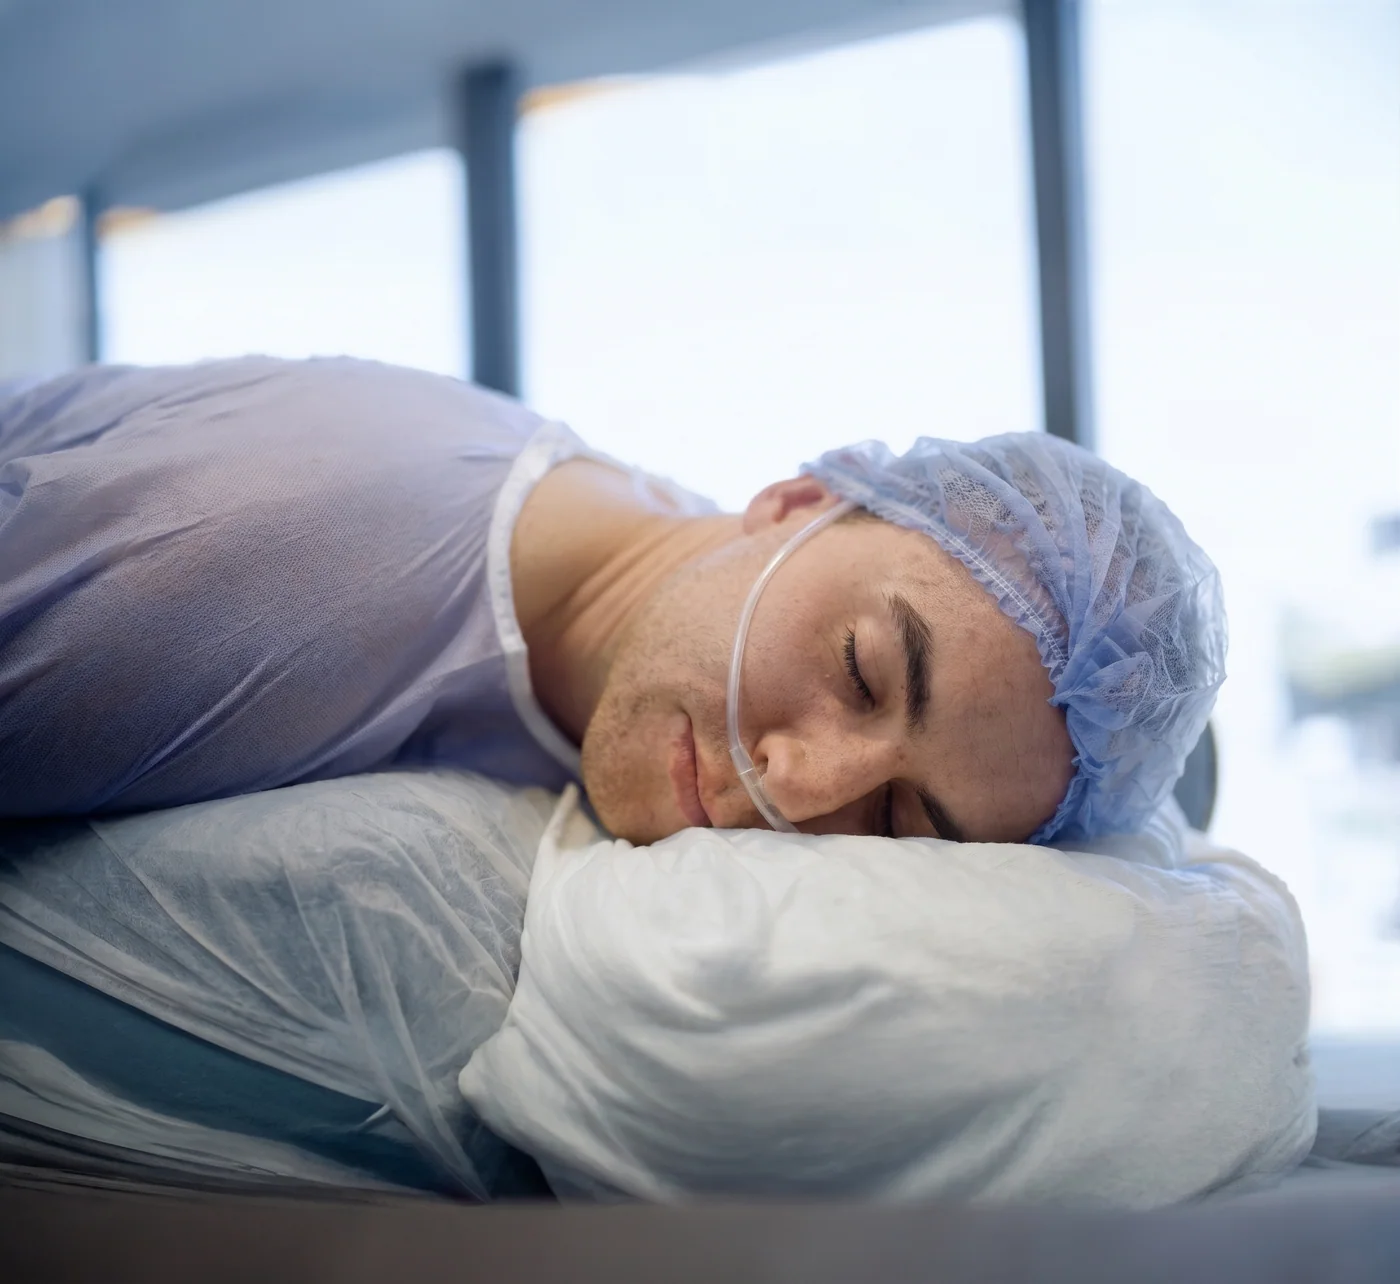
Patient wearing a surgical cap and oxygen mask sleeping peacefully during Sleep-Deep sedation

0% Pain with Sleep-Deep Sedation

A specialist anaesthetist begins your hair transplant with a brief period of sedation. During this phase of about 15 minutes, you gently drift off to sleep while the area is numbed with local anaesthetic, so you don't feel any pain.

When you wake up, the area is completely numb and the procedure can begin. You remain fully conscious for the rest of the procedure and can take short breaks whenever you need them.

Throughout, the specialist anaesthetist keeps a close eye on your vital signs. If sedation isn't an option for you or you'd prefer not to have it, gentle needle-free anaesthesia with the Comfort-In technique is available.

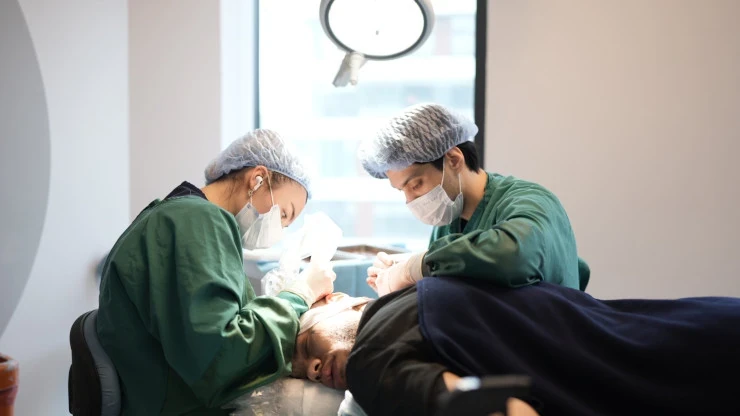
Two doctors in green surgical scrubs extracting grafts from the back of a reclining patient's head
Extraction

Precise Graft Extraction Without Scarring

With the proven FUE technique, follicular units are removed one by one from the donor area using a fine hollow punch (under 1 mm) (Rassman et al. 2002). No incisions are needed and no scars are left behind.

Two quality measures protect the tissue: precisely aligning the punch with the angle at which each hair naturally emerges prevents damage to the root. Our medical specialists also work at reduced motor speeds (100 to 200 rpm) to avoid harmful heat caused by friction. Manual FUE is also available on request for fully manual extraction, with a surcharge confirmed during your consultation.

After extraction, the grafts are sorted and stored chilled in a nutrient solution. This nutrient-rich cooling protects the delicate follicles until they're implanted in the recipient area.

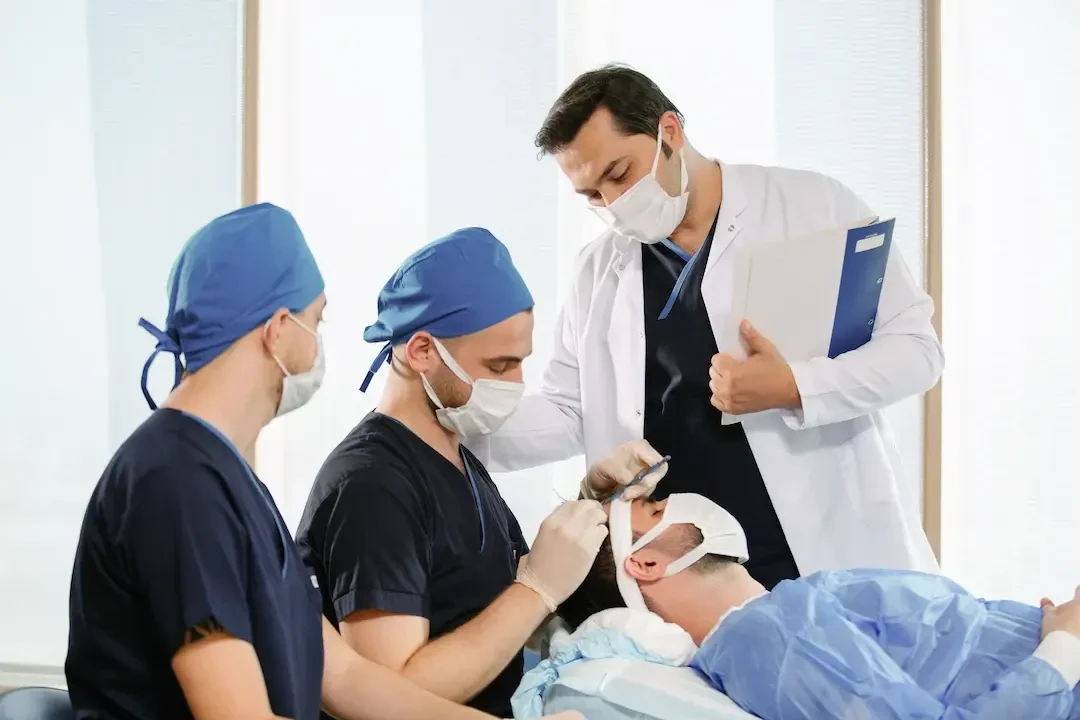
Three doctors implanting grafts in a reclining patient while another doctor watches with a clipboard
Implantation

Implanting the Grafts with DHI

With the modern DHI technique, the channel is opened and the graft implanted in one seamless step. The CHOI Implanter Pen opens the channel and gently places the follicular unit at the same time. This minimises the time the grafts spend outside the body and protects the follicles (Parsley et al. 2010).

During this step, our medical specialists apply the specifications from the Pre-Test System: skin thickness measured by ultrasound, together with blood flow measured by Doppler ultrasound, determines the depth at which each graft is implanted. This precise calibration, together with the NEO FUE protocol, contributes to a graft survival rate of approximately 98%.

Break

Breaks and Meals During Your Procedure

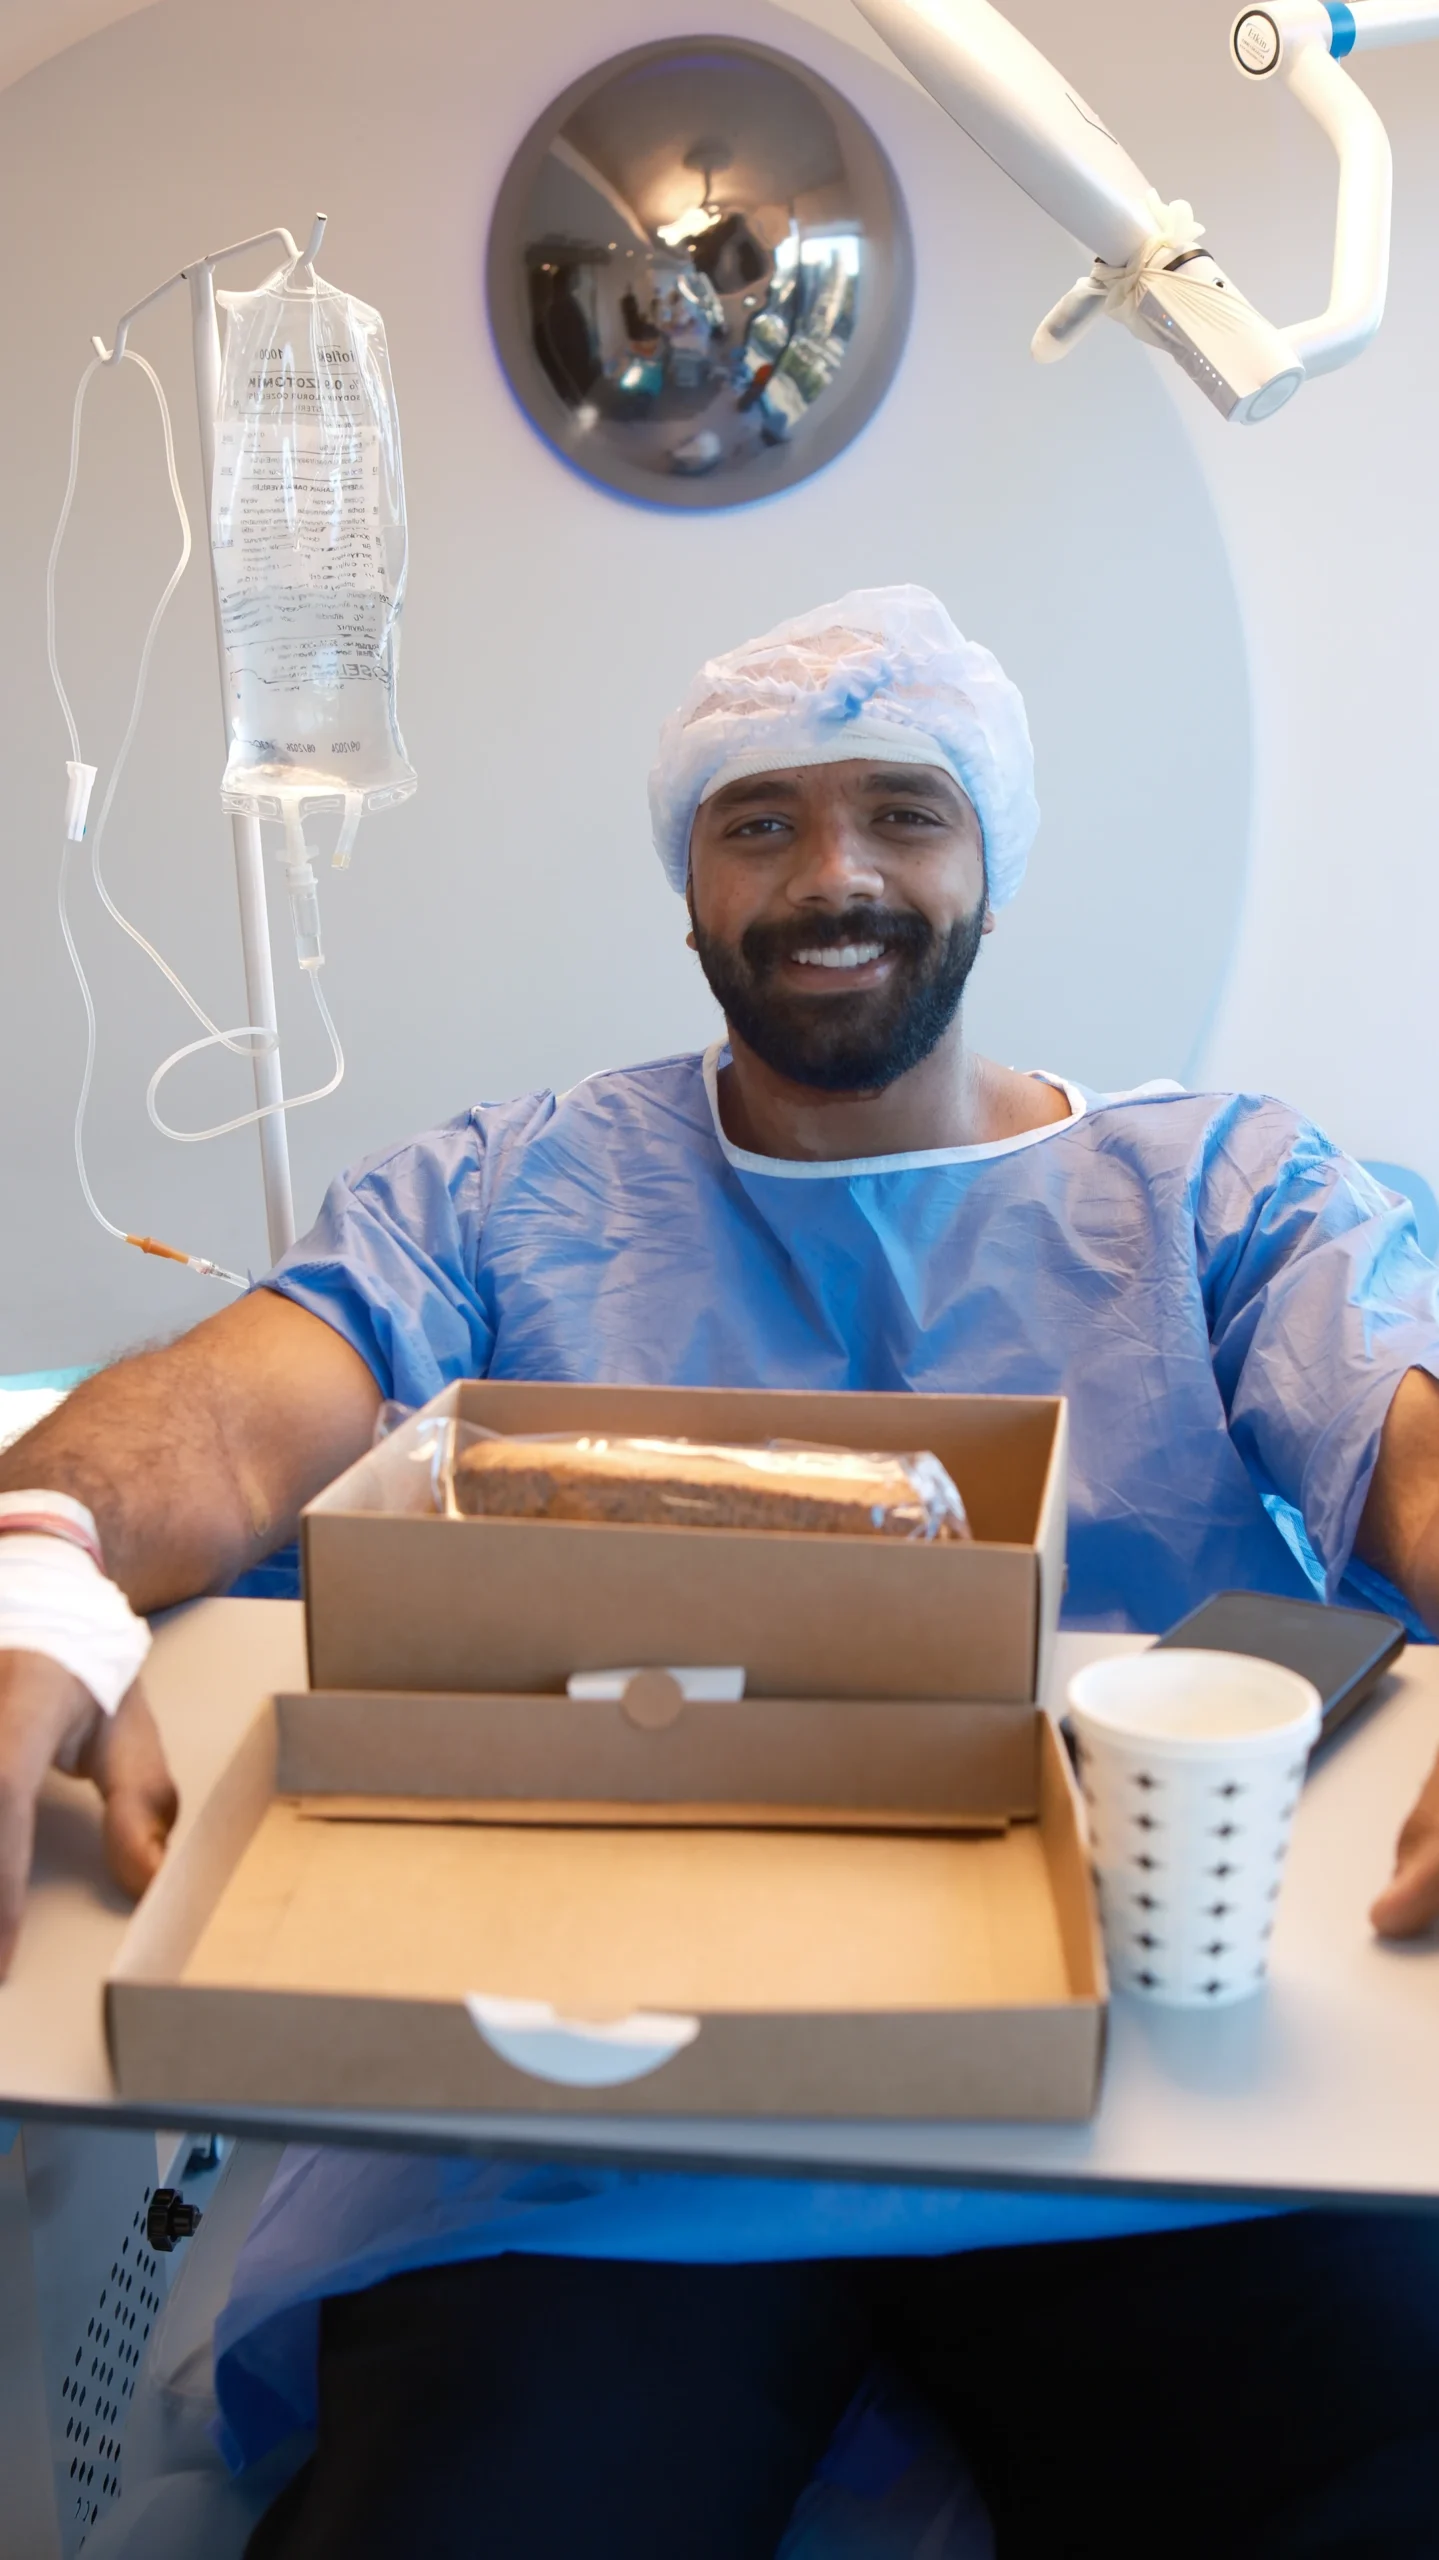
Patient in surgical scrubs smiling in the treatment chair during a break for a light meal

Once graft extraction is complete, there's a planned break. While the follicles are being sorted for implantation, we serve you a light meal so you can recharge and catch your breath.

You can also ask for a break at any time during the procedure.

Your comfort sets the pace.

Step 6: Follow-Up Examination and Journey Home (Day 3)

On the day you leave, a doctor carries out your follow-up examination at the clinic. After removing your bandage and fitting a headband, the doctor checks how the treated areas are healing.

The focus is on preparing you for your first few days at home. Our team gives you your aftercare kit and explains the steps for your first hair wash, which is due the following day. At the clinic, you also receive your patented NEO FUE set, containing a dermaroller and two ampoules of serum, for exactly two applications to your scalp: on days 14 and 28 after your procedure. Together with the implantation depth determined by the Pre-Test System, this protocol contributes to a graft survival rate of approximately 98%. Immediately after your aftercare consultation, your transfer takes you to the airport. Below is a summary of your hair transplant process in Istanbul.

  1. Bright reception lounge at the Elithair clinic with seating areas in front of the glass façade

    Day 1 – Airport, clinic & hotel

    • Arrival in Istanbul, VIP transfer straight to the clinic, Pre-Test System as the basis for your individual treatment plan (blood tests first if you arrive late), then hotel check-in
  2. Dr. Balwi marking a patient's hairline while an assistant looks on

    Day 2 – Clinic

    • Remaining Pre-Test System steps (only if you arrived late on day 1), hairline planning, shaving (if needed), Sleep-Deep sedation, graft extraction with the FUE technique, implantation with the DHI technique, transfer to the hotel
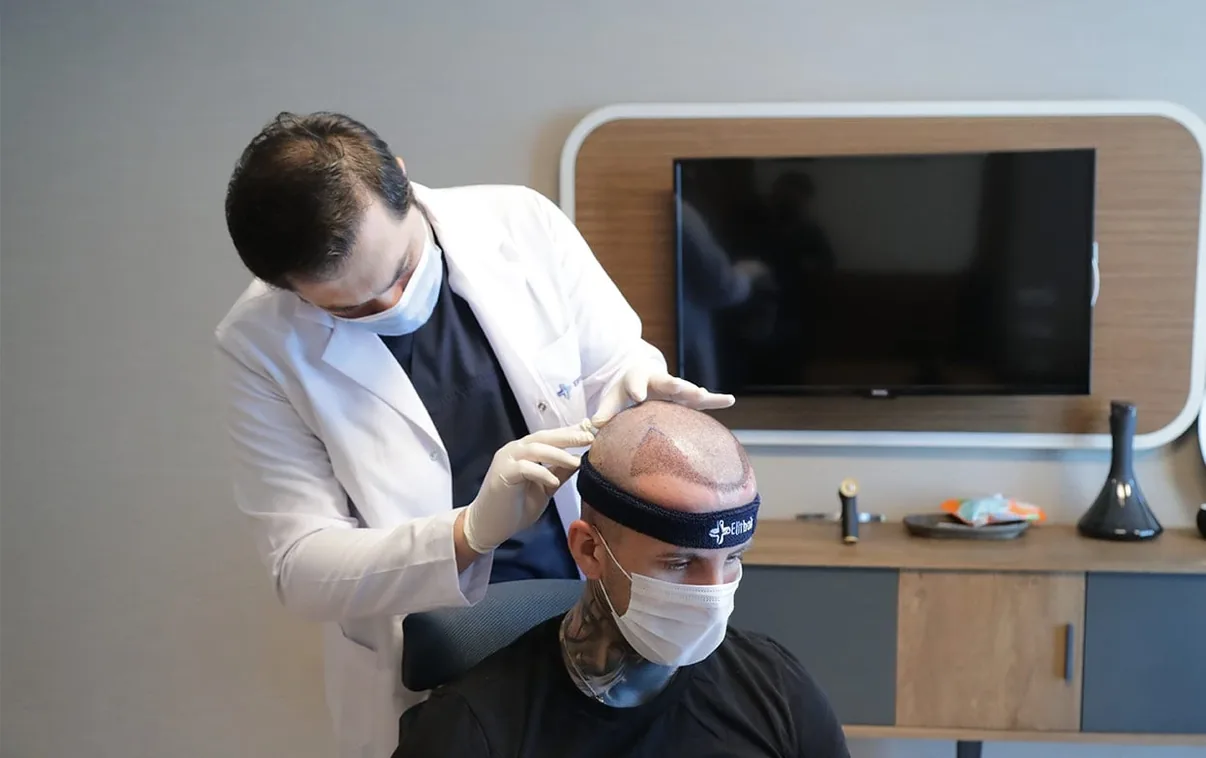
  3. Dr. Balwi examining the head of a patient wearing an Elithair headband during aftercare

    Day 3 – Clinic & airport

    • Aftercare and a follow-up examination with a doctor: bandage removal, headband, aftercare instructions, care products, then VIP transfer to the airport

Step 7: Your First Two Weeks at Home

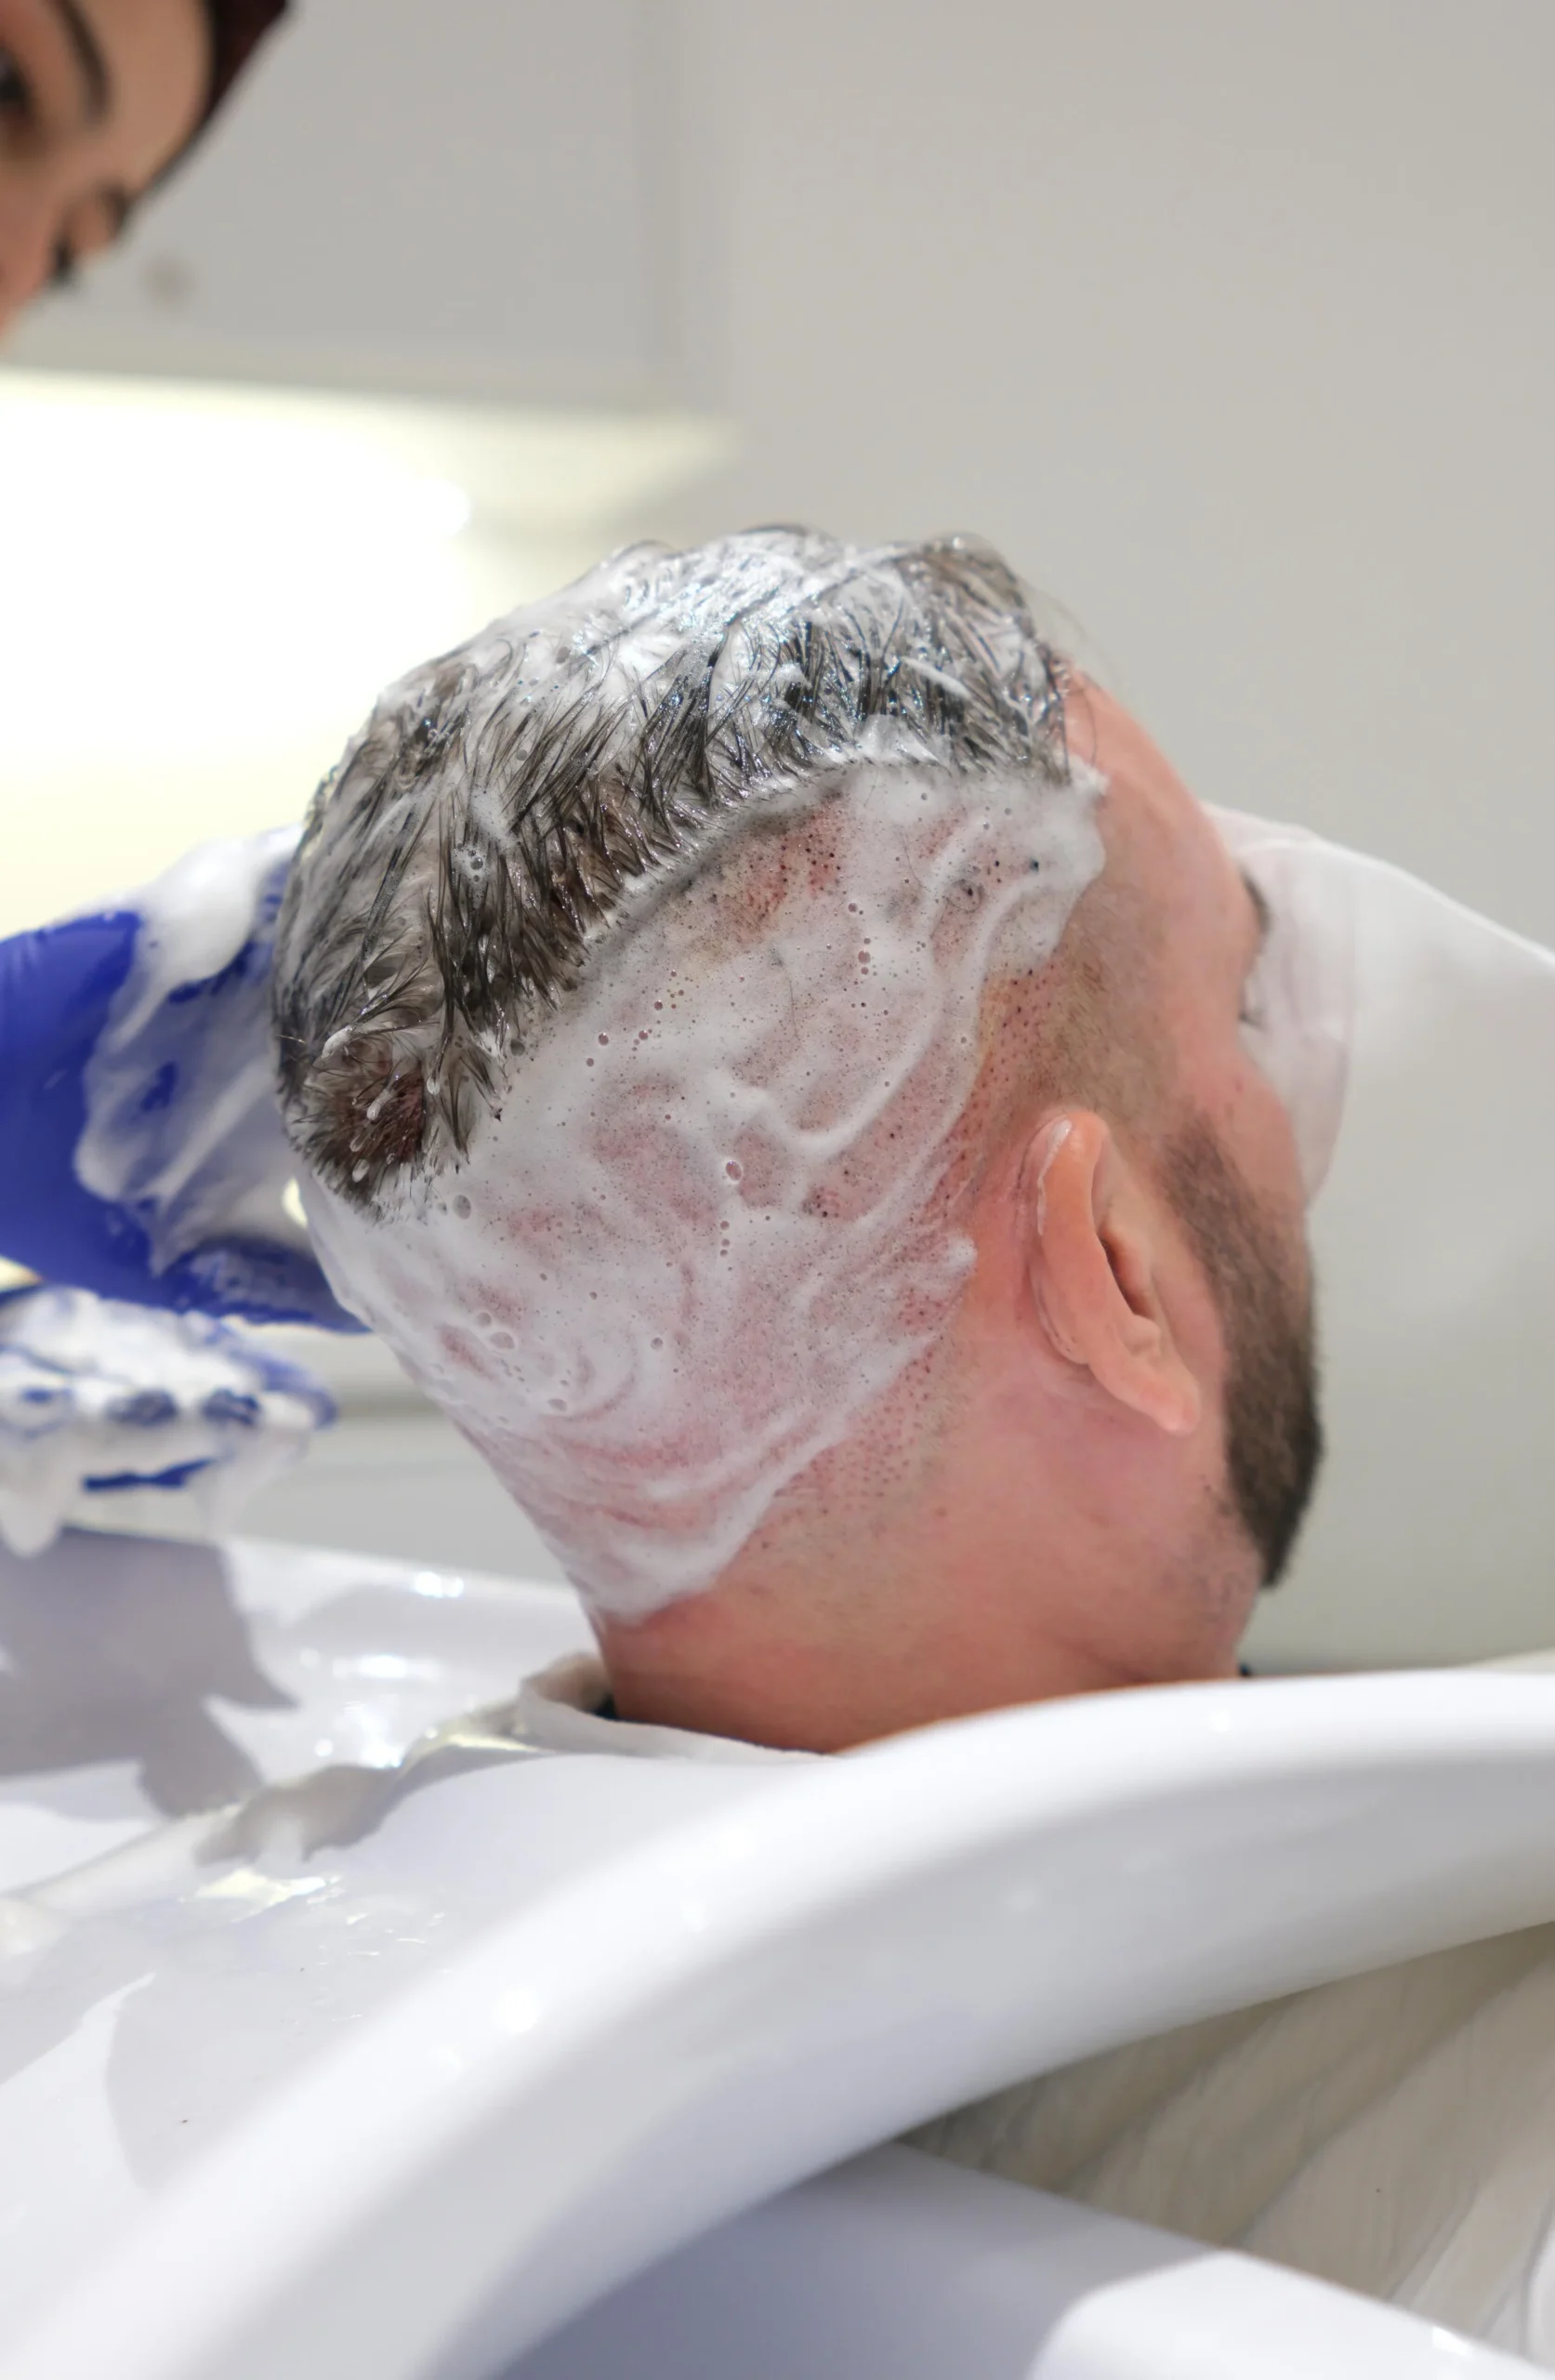
Side view of a patient's hair being washed, showing foam and the transplanted area on the scalp

The first 14 days after your procedure are crucial as the transplanted follicles take hold. During this phase, the roots anchor firmly in the tissue, so following the correct aftercare routine at home has a major influence on your final result.

The schedule is based directly on your procedure day: day 1 is the day after your procedure, which is also the day you travel home. To keep aftercare simple, the Elithair app guides you step by step through the days ahead and automatically reminds you when each hair wash is due.

The Washing Protocol

  1. Day 1

    Don't wash your hair. On the day of your procedure and after you return home the following day, lie down and rest as much as possible.

  2. Days 2 to 8

    Wash your hair every day for seven days in a row, in four steps each time. Wash your hands thoroughly first.*

  3. Day 9

    Skip washing to prepare for scab removal on days 10 and 11

  4. Days 10 and 11

    Remove the scabs in the recipient area using a generous amount of lotion, never with your fingernails. It's normal for some scabs to remain on day 10, which is why you repeat the process on day 11.*

  5. From day 12

    Once all the scabs are gone, wash your hair as usual with regular shampoo.

*For details, please refer to your aftercare guide.

  • 5-Doctor
    Standard
  • 6-step
    Pre-Test System
  • Sleep-Deep
    0 % pain
  • DHI technique
    included
  • 20-year
    guarantee
  • 12 months
    of aftercare

Recovery: The Right Sleeping Position After Your Procedure

During the first few nights after your procedure, protecting the recipient area is the priority. Sleep on your back with the neck pillow provided by the clinic under your neck, ensuring that nothing touches the transplanted grafts for the first five days.

From day 5, you can sleep on your side again without the neck pillow, and from day 10, on your front as well.

Key Guidelines for Everyday Life

Fluids and Diet
Drink at least three litres of water a day. For the first three days after your procedure, it's best to avoid salty foods, which supports healing.
Rest and Physical Activity
On the day of your procedure and the following day, lie down and rest as much as possible, protect the treated areas from knocks and avoid heavy sweating for 15 days. You can resume light exercise and heavy physical work after 2 weeks, moderate activity such as going to the gym or playing football after 4 weeks, and strength training after 6 weeks.
Caring for the Donor Area
Apply lotion to the donor area after every wash, and from day 4 you can soothe it with aloe vera gel if you like (up to three times a day). For the first two weeks, relieve itching only by gently using your fingertips; from day 15, you can go back to normal.
Protection from Sun and Weather
For the first two weeks, wear only the hat provided by the clinic. Always wear it in direct sunlight or dusty conditions, as well as at the following temperatures: from 24 to 39 °C for 14 days, and at 40 °C and above for one month (up to 23 °C, you don't need to cover your head).
Hair Growth Over Time

How Your Hair Growth Develops

Hair growth after treatment follows clearly defined stages. During the first few weeks, the follicles settle deep within the scalp and enter a natural resting phase before beginning to produce lasting new hair growth from the fourth month onwards.

Your healing timeline at a glance: timeframe and progress from month 3 to month 18
Time frameDevelopment
Up to month 3 The follicles anchor in the tissue and prepare for new growth. At this stage, only about 10% of your final hair growth is visible. approx. 10 %
From month 4 The main growth spurt begins, with approximately 10% new growth per month.
Month 6 About 40% of the final result has been achieved, and the outline of your new hair is already clearly visible. approx. 40 %
Months 10 to 12 The result at the front of your head is fully mature. Front 100 %
Months 15 to 18 Growth at the crown is now complete as well, as this area needs more time. Crown 100 %

Important: While the recipient area matures gradually, the donor area recovers more quickly and is fully healed after about six months; extracted follicles do not grow back. If beard hair was used as a donor source, the skin there heals within one to four weeks. We recommend keeping the hair in the donor area at least one centimetre long for the first six months.

What to look for

Avoiding Mistakes During the Hair Transplant Process

A smooth recovery depends on following a consistent routine. To support your hair growth as effectively as possible, keep the following points in mind:

  1. 1. Keep your hair length: Don't cut your hair or beard in the 14 days before your procedure, because your current length is needed for planning and for Zero Shave FUE.
  2. 2. Stick to the minoxidil break: Please stop using it exactly two weeks (14 days) before your procedure.
  3. 3. Remember the break on day 9: Skipping your hair wash on day 9 prepares your scalp for gradual scab removal.
  4. 4. Avoid touching the area: Avoid pressure or scratching with your fingernails before the two weeks are up so you don't damage any grafts.
  5. 5. Leave a buffer for your departure: Book your return flight with plenty of time so your follow-up examination on the day you leave isn't rushed.
Individual

Is the Hair Transplant Process in Turkey the Same for Every Patient?

While the organisational process and clinical checks follow a proven structure, your medical treatment plan is tailored to you. Factors such as the number of grafts, the direction of hair growth and the shape of your hairline are carefully adapted to your individual needs.

The approach also varies according to the type of treatment:

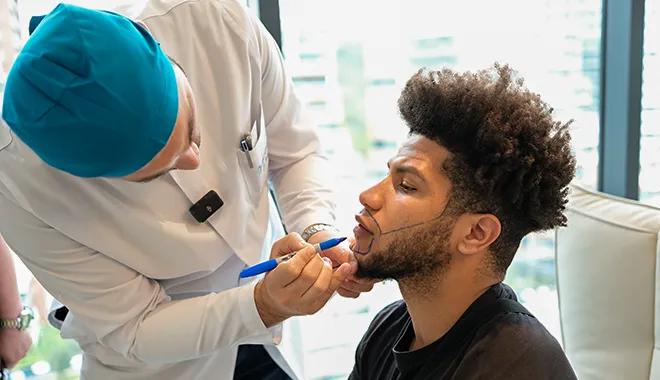
  • Doctor wearing a surgical cap marking the beard line on the chin of a patient with curly hair

    Beard: The skin on the chin and cheeks usually recovers faster.
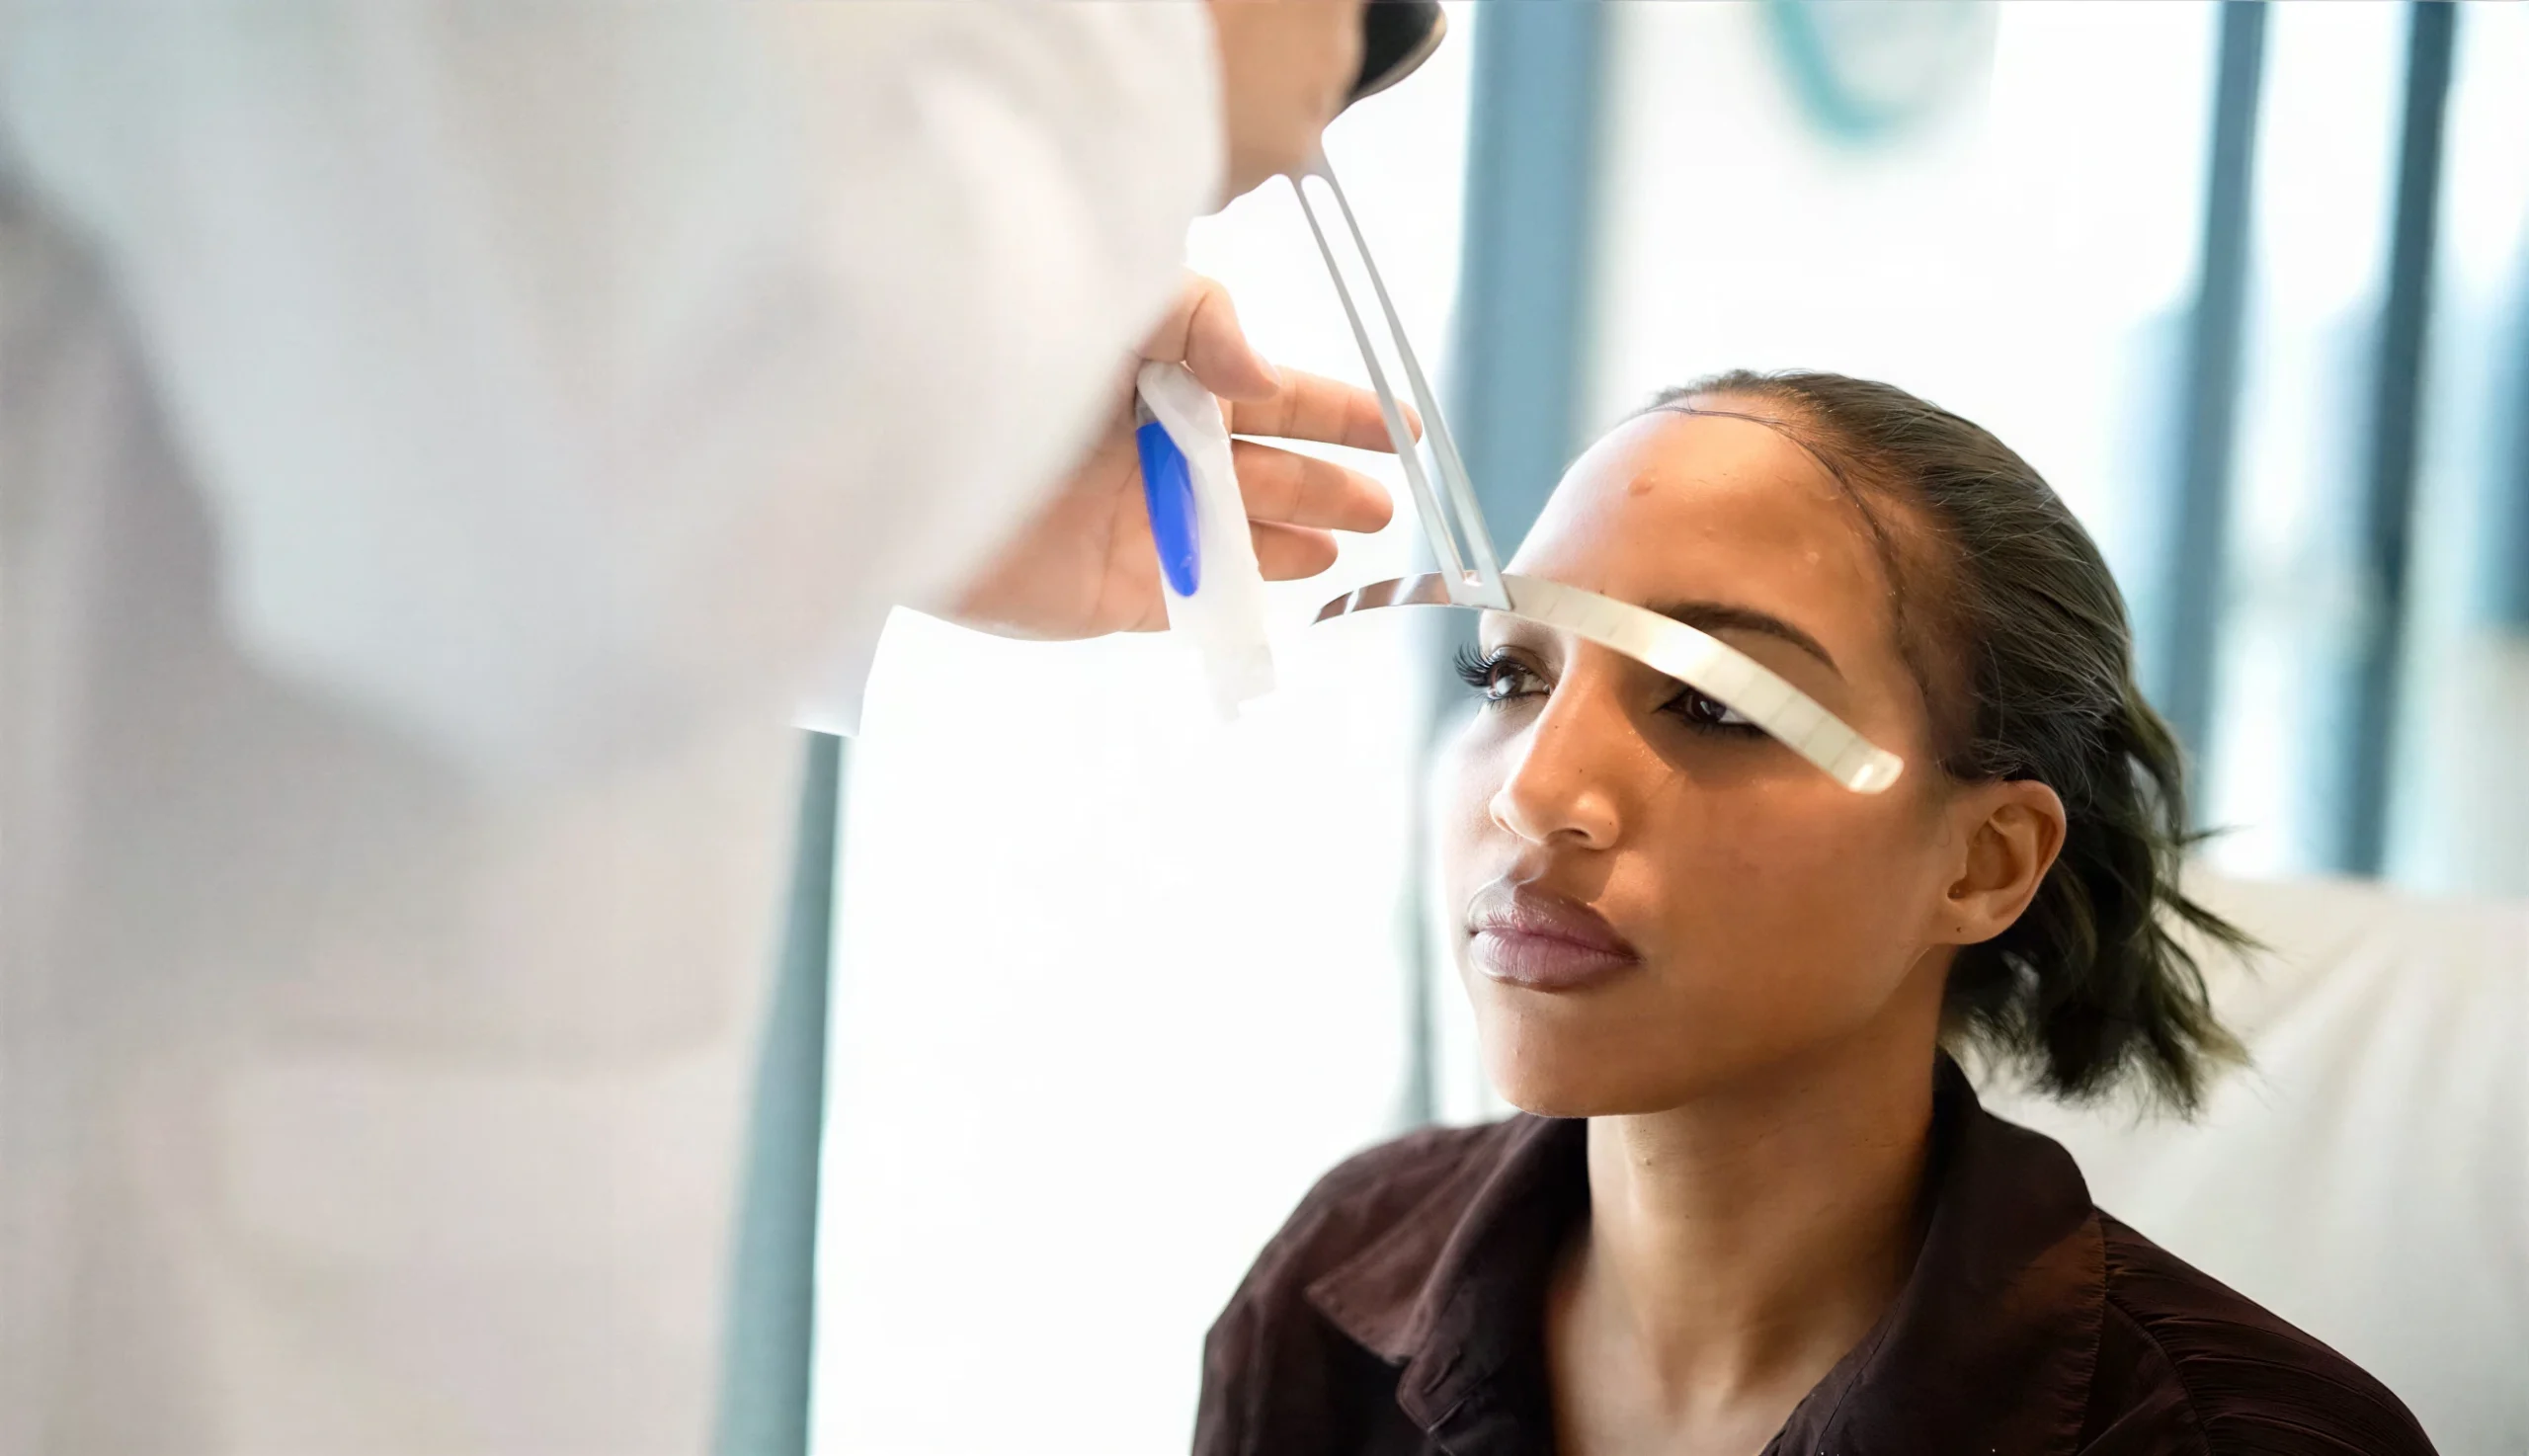
  • Medical specialist marking a female patient's forehead using a pen and ruler

    Hair transplants for women: The individual pattern of hair loss largely determines the gentlest approach.

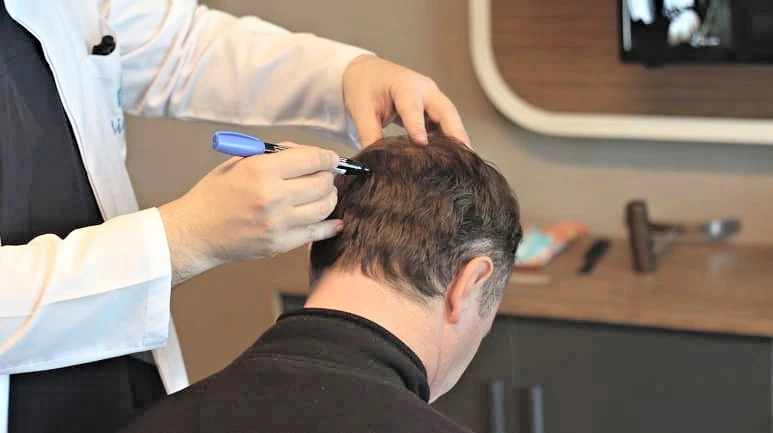
  • Doctor examining the donor area at the back of a patient's head

    Follow-up treatments: The available donor area determines what's possible for any further treatment (Unger et al. 2013).

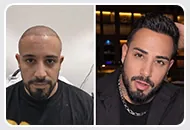
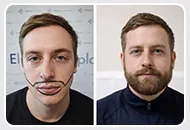
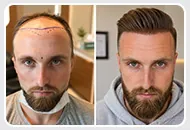
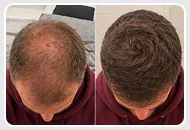
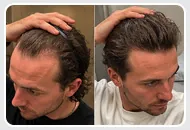
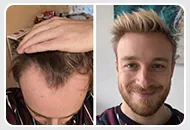
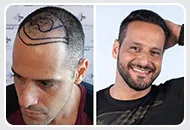
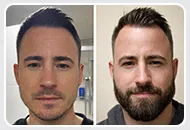
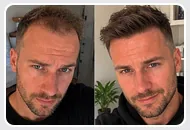
Man shortly after a hair transplant with a shaved hairline, and later with thick, styled hair.
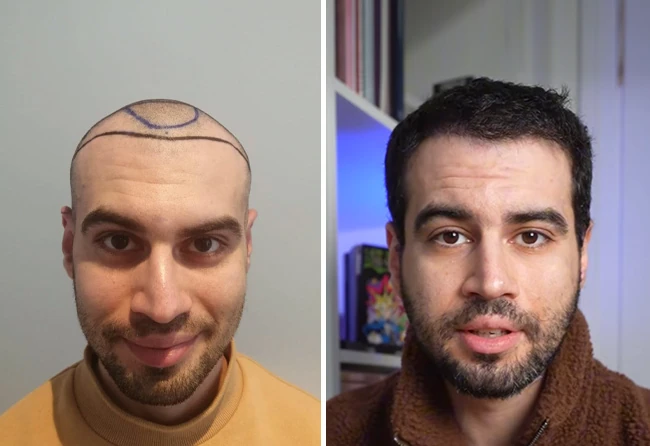
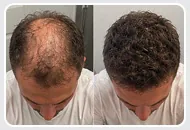
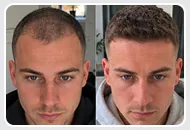
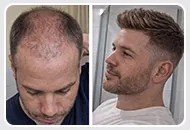
Before-and-after comparison of a man with thinning hair on top before and noticeably thicker hair afterwards.
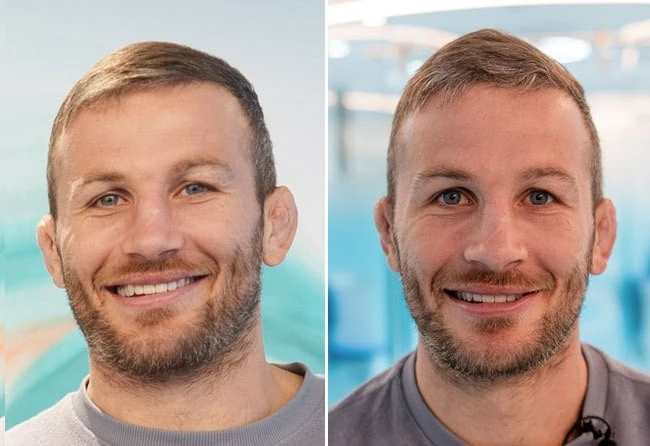
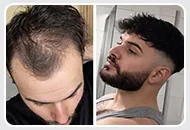
Man with thinning hair at the front before a hair transplant, and thick, dark hair afterwards.
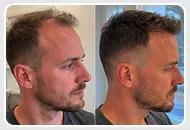
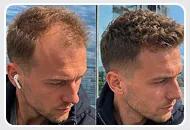
Side-by-side comparison of a man with a receding hairline before treatment and a fuller hairline with shorter sides afterwards.
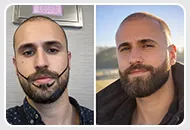
Man with marked areas of sparse beard growth before a beard transplant, and a thick, full beard afterwards.
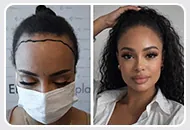
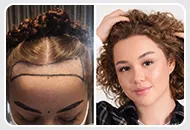
Woman with a marked, receding hairline before treatment, and thicker hair along her forehead afterwards.
Before-and-after comparison of a man with patchy beard growth before treatment and a thick, full beard afterwards.
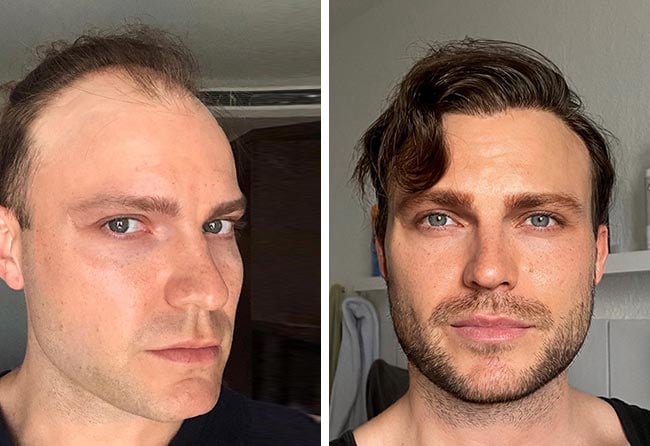
Man with a receding hairline before a hair transplant, and a fuller hairline afterwards.
Man with a marked, receding hairline before a transplant, and a dense, lower hairline afterwards.
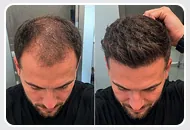
Top of a man's head before and after a hair transplant: severely thinning hair before, thick coverage afterwards.
Man with a receding hairline before a hair transplant, and thicker hair along his forehead and temples afterwards.
Man with a receding hairline before treatment, and thicker hair styled upwards afterwards.
Man with a shaved head and marked hairline before a hair transplant, and thick, dark hair afterwards.
Man with thinning hair at the front before a hair transplant, and thick hair afterwards.
Woman with a marked, receding hairline before a transplant, and a fuller hairline afterwards.
Man before and after a hair transplant: thinning hair at the front before, a fuller hairline afterwards.
Man with sparse beard growth on his cheeks before a beard transplant, and a thick, full beard afterwards.
Man with receding temples before treatment, and a fuller, denser hairline afterwards.
Overhead view of a man before and after a hair transplant: thinning hair at the front before, a dense hairline afterwards.
Before-and-after beard transplant comparison: marked cheeks with sparse beard growth, followed by a thick, full beard.
Woman with a marked, receding hairline before treatment, and thicker hair along her forehead afterwards.
Before-and-after comparison of a man with patchy beard growth before treatment and a thick, full beard afterwards.
Man with a receding hairline before a hair transplant, and a fuller hairline afterwards.
Man with a marked, receding hairline before a transplant, and a dense, lower hairline afterwards.
Top of a man's head before and after a hair transplant: severely thinning hair before, thick coverage afterwards.
Man before and after a hair transplant: thinning hair at the front before, a fuller hairline afterwards.
Man with sparse beard growth on his cheeks before a beard transplant, and a thick, full beard afterwards.
Man with receding temples before treatment, and a fuller, denser hairline afterwards.
Man with thinning hair at the front before a hair transplant, and thick hair afterwards.
Woman with a marked, receding hairline before a transplant, and a fuller hairline afterwards.
Hair analysis

The Process Stays the Same, but Your Hair Doesn't

The hair transplant process is standardised, but the condition of your hair changes over time.

While the supply of follicles in your donor area remains limited, the area requiring greater density can expand as your hair loss progresses. In addition, the final result takes 10 to 12 months to develop after the transplant (crown: 15 to 18 months), and this period begins only on the day of your procedure.

Hair transplant before and after: man with a shaved head and treatment markings, then with a full head of hair

Spybas - 3,200 grafts

Before-and-after comparison of a patient following a hair transplant at Elithair

Stephan Pütz - 5,700 grafts

Hair transplant result: man with severe frontal hair loss before treatment and full, dark hair afterwards

Edgars N. – 3,700 grafts

During our free, no-obligation hair analysis, we carefully assess the current condition of your hair and give you an honest overview of the options available to you.

FAQ

FAQ: Frequently Asked Questions About the Hair Transplant Process in Turkey

You'll spend three days in Istanbul. The procedure itself takes about 5 to 8 hours, depending on the number of grafts being transplanted. The complete hair transplant process, through to your final result, takes ten to twelve months, and fifteen to eighteen months at the crown.

Three days. Your all-inclusive package includes 3 nights in a 4-star hotel.

You undergo the Pre-Test System at our clinic in Istanbul on the day you arrive: we take you from the airport to the clinic first, and then to your hotel. Our doctors use the results of the six tests to create your individual treatment plan. If you arrive late in the evening, your blood tests are carried out first and the remaining steps follow on day 2.

The local anaesthetic, the part most people dread, is given while you're under Sleep-Deep sedation. You feel 0% pain. After that, the area is numb. In the days that follow, you may notice some tightness and itching, and you'll go home with medication for it.

In the standard process, the donor and recipient areas are shaved. With Zero Shave FUE, both remain unshaved. This optional extraction method is available for procedures involving fewer than 3,500 grafts, with a surcharge of £450. Medium-length or long hair is not a requirement.

Avoid heavy physical work for two weeks and heavy sweating for 15 days. Most patients can return to office work from day 2 or 3.

On the second day after your procedure, at home, following the instructions you receive at the clinic. Your hair isn't washed at the clinic.

At any time, without needing to give a reason. There's also a planned break after extraction.

Light exercise after two weeks, moderate activity after four weeks and strength training after six weeks.